
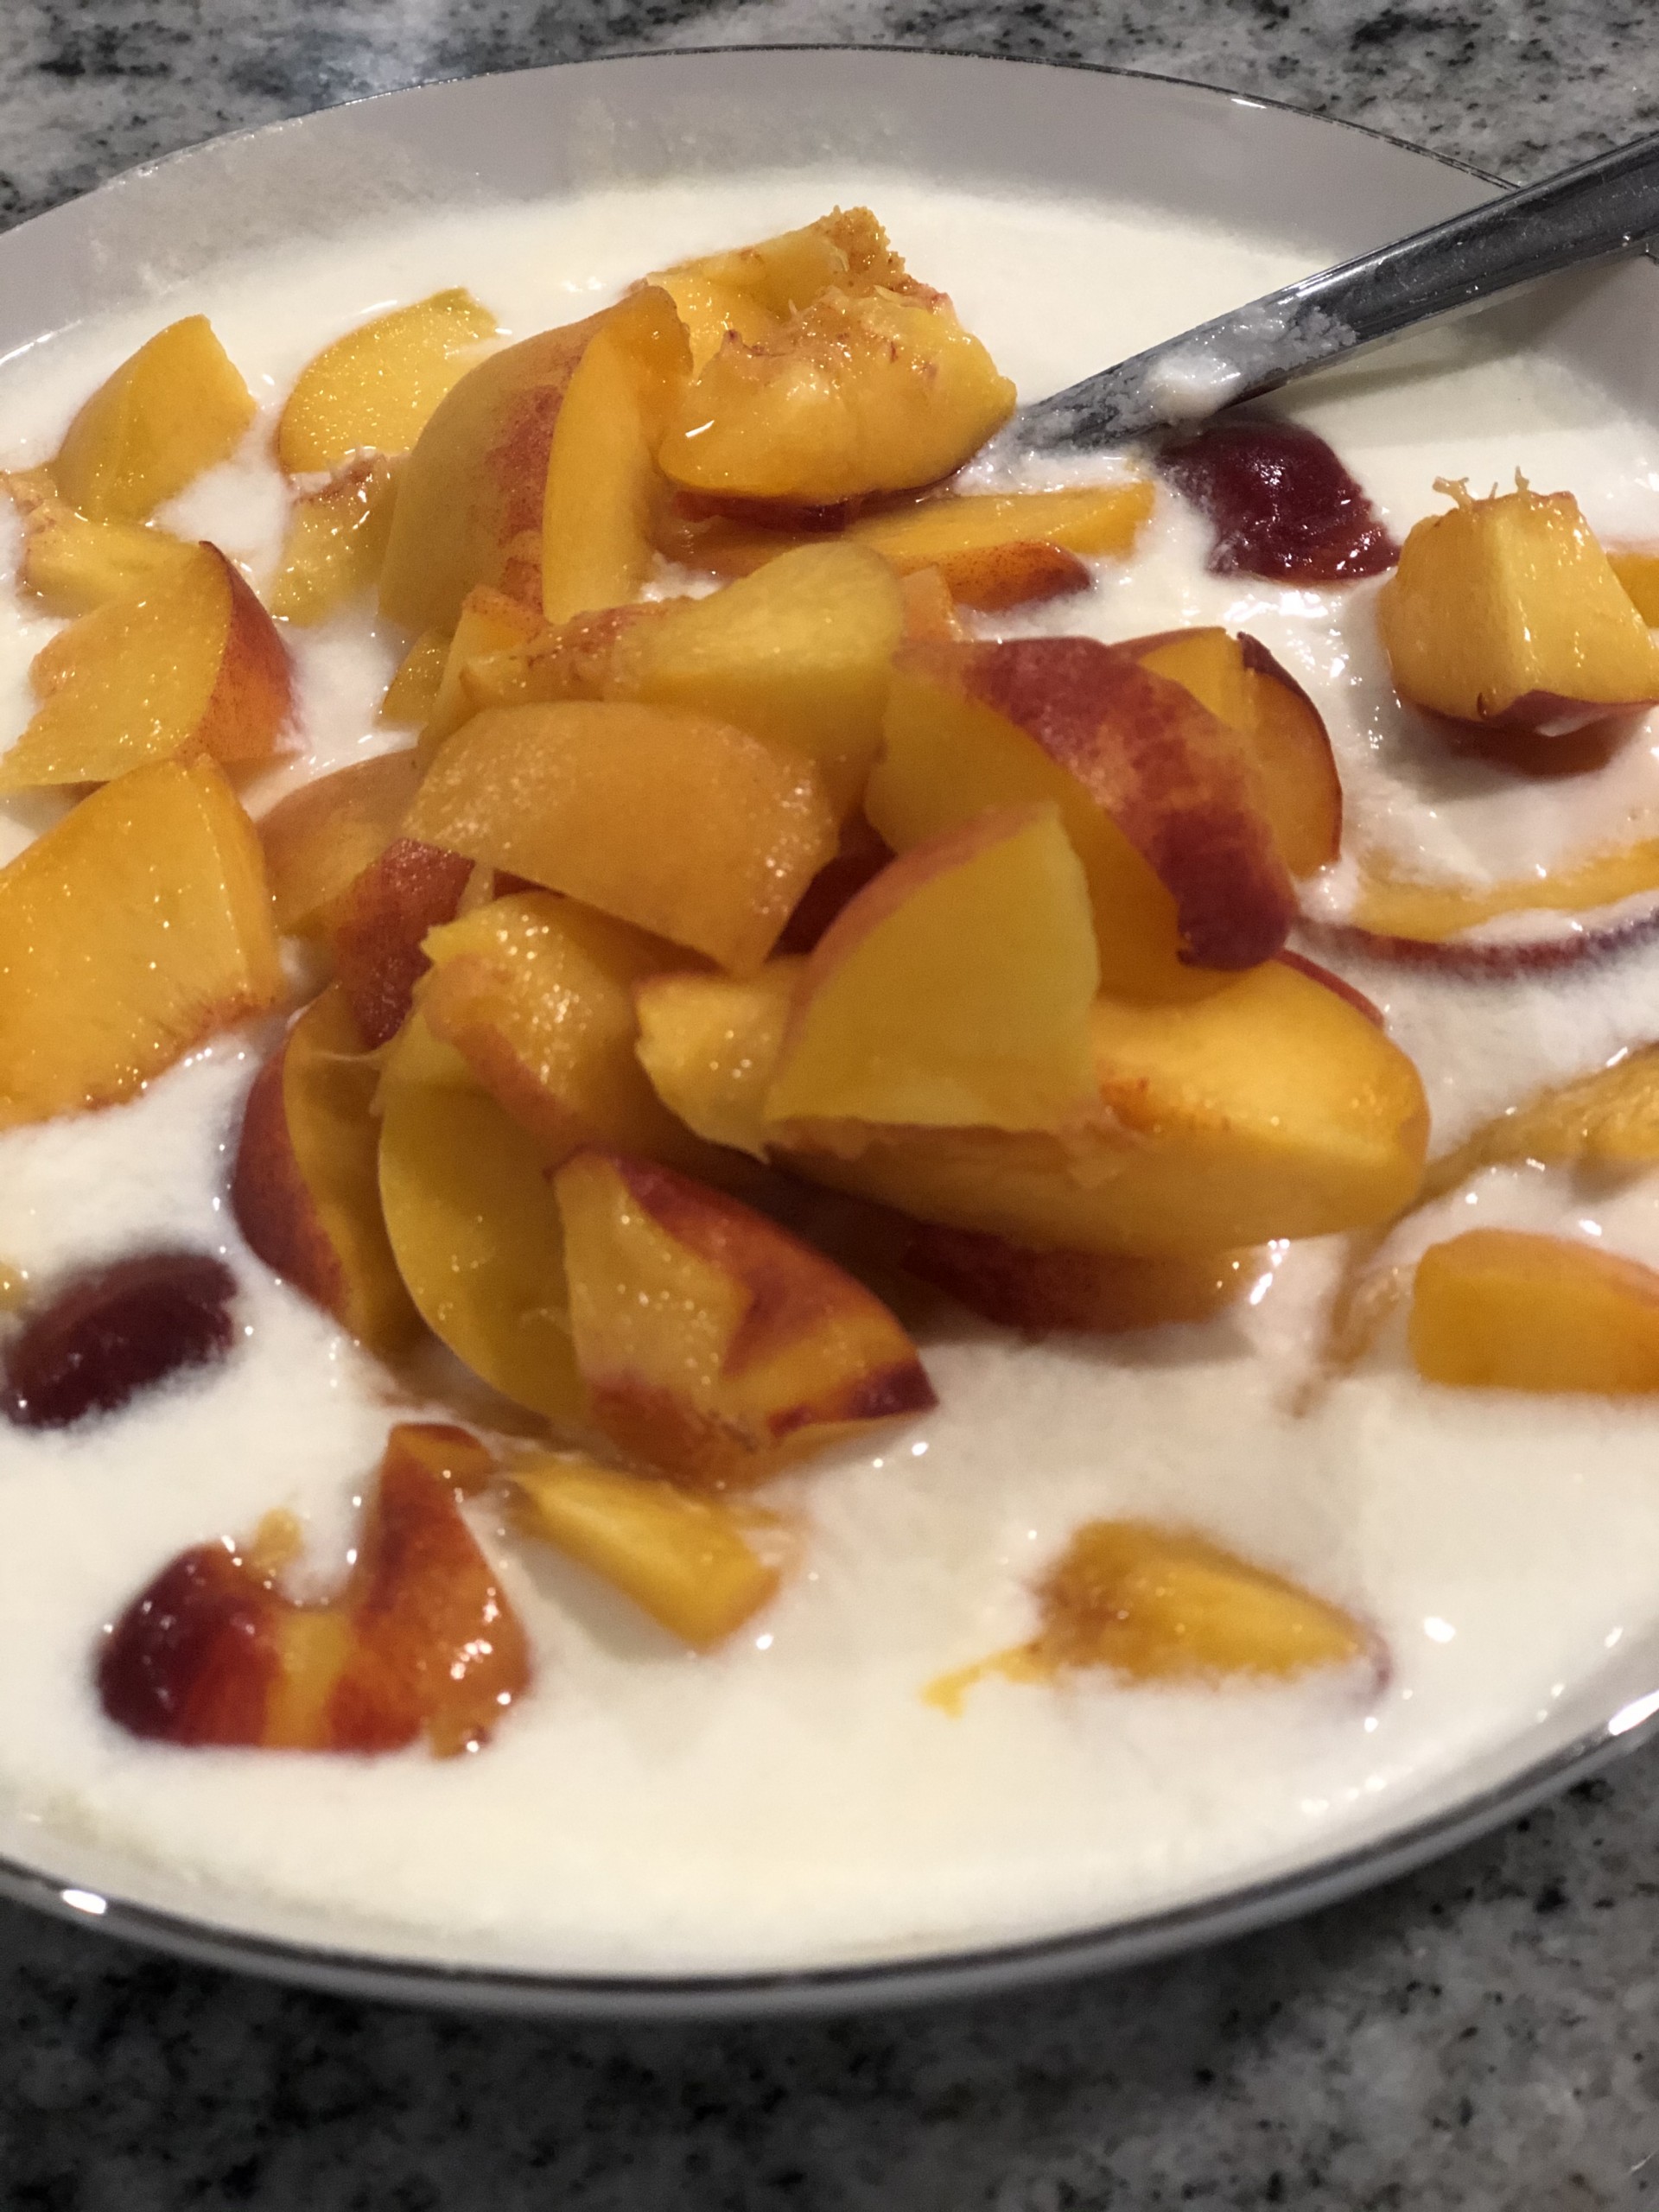
We get our milk directly from a local farmer, in our own glass jars, each Wednesday. We buy two gallons a week to ensure we have enough for drinking, cooking, and homemade yogurt! That means every week I make yogurt. We eat it for breakfast and use it for cooking too!
Making your own yogurt is a great way to reduce waste (especially if you can find milk in refillable glass bottles… more and more grocery stores are offering this, so I recommend looking and asking at your local grocery store again if it’s been awhile since you’ve looked) and, even more importantly, its a delicious way to make sure you’re getting enough healthy bacteria in your gut!
We use the “cooler method” but there are several different creative ways to manage the process… however you do it, you need to be able to consistently maintain a temperature of 180F and 110F for long periods of time.
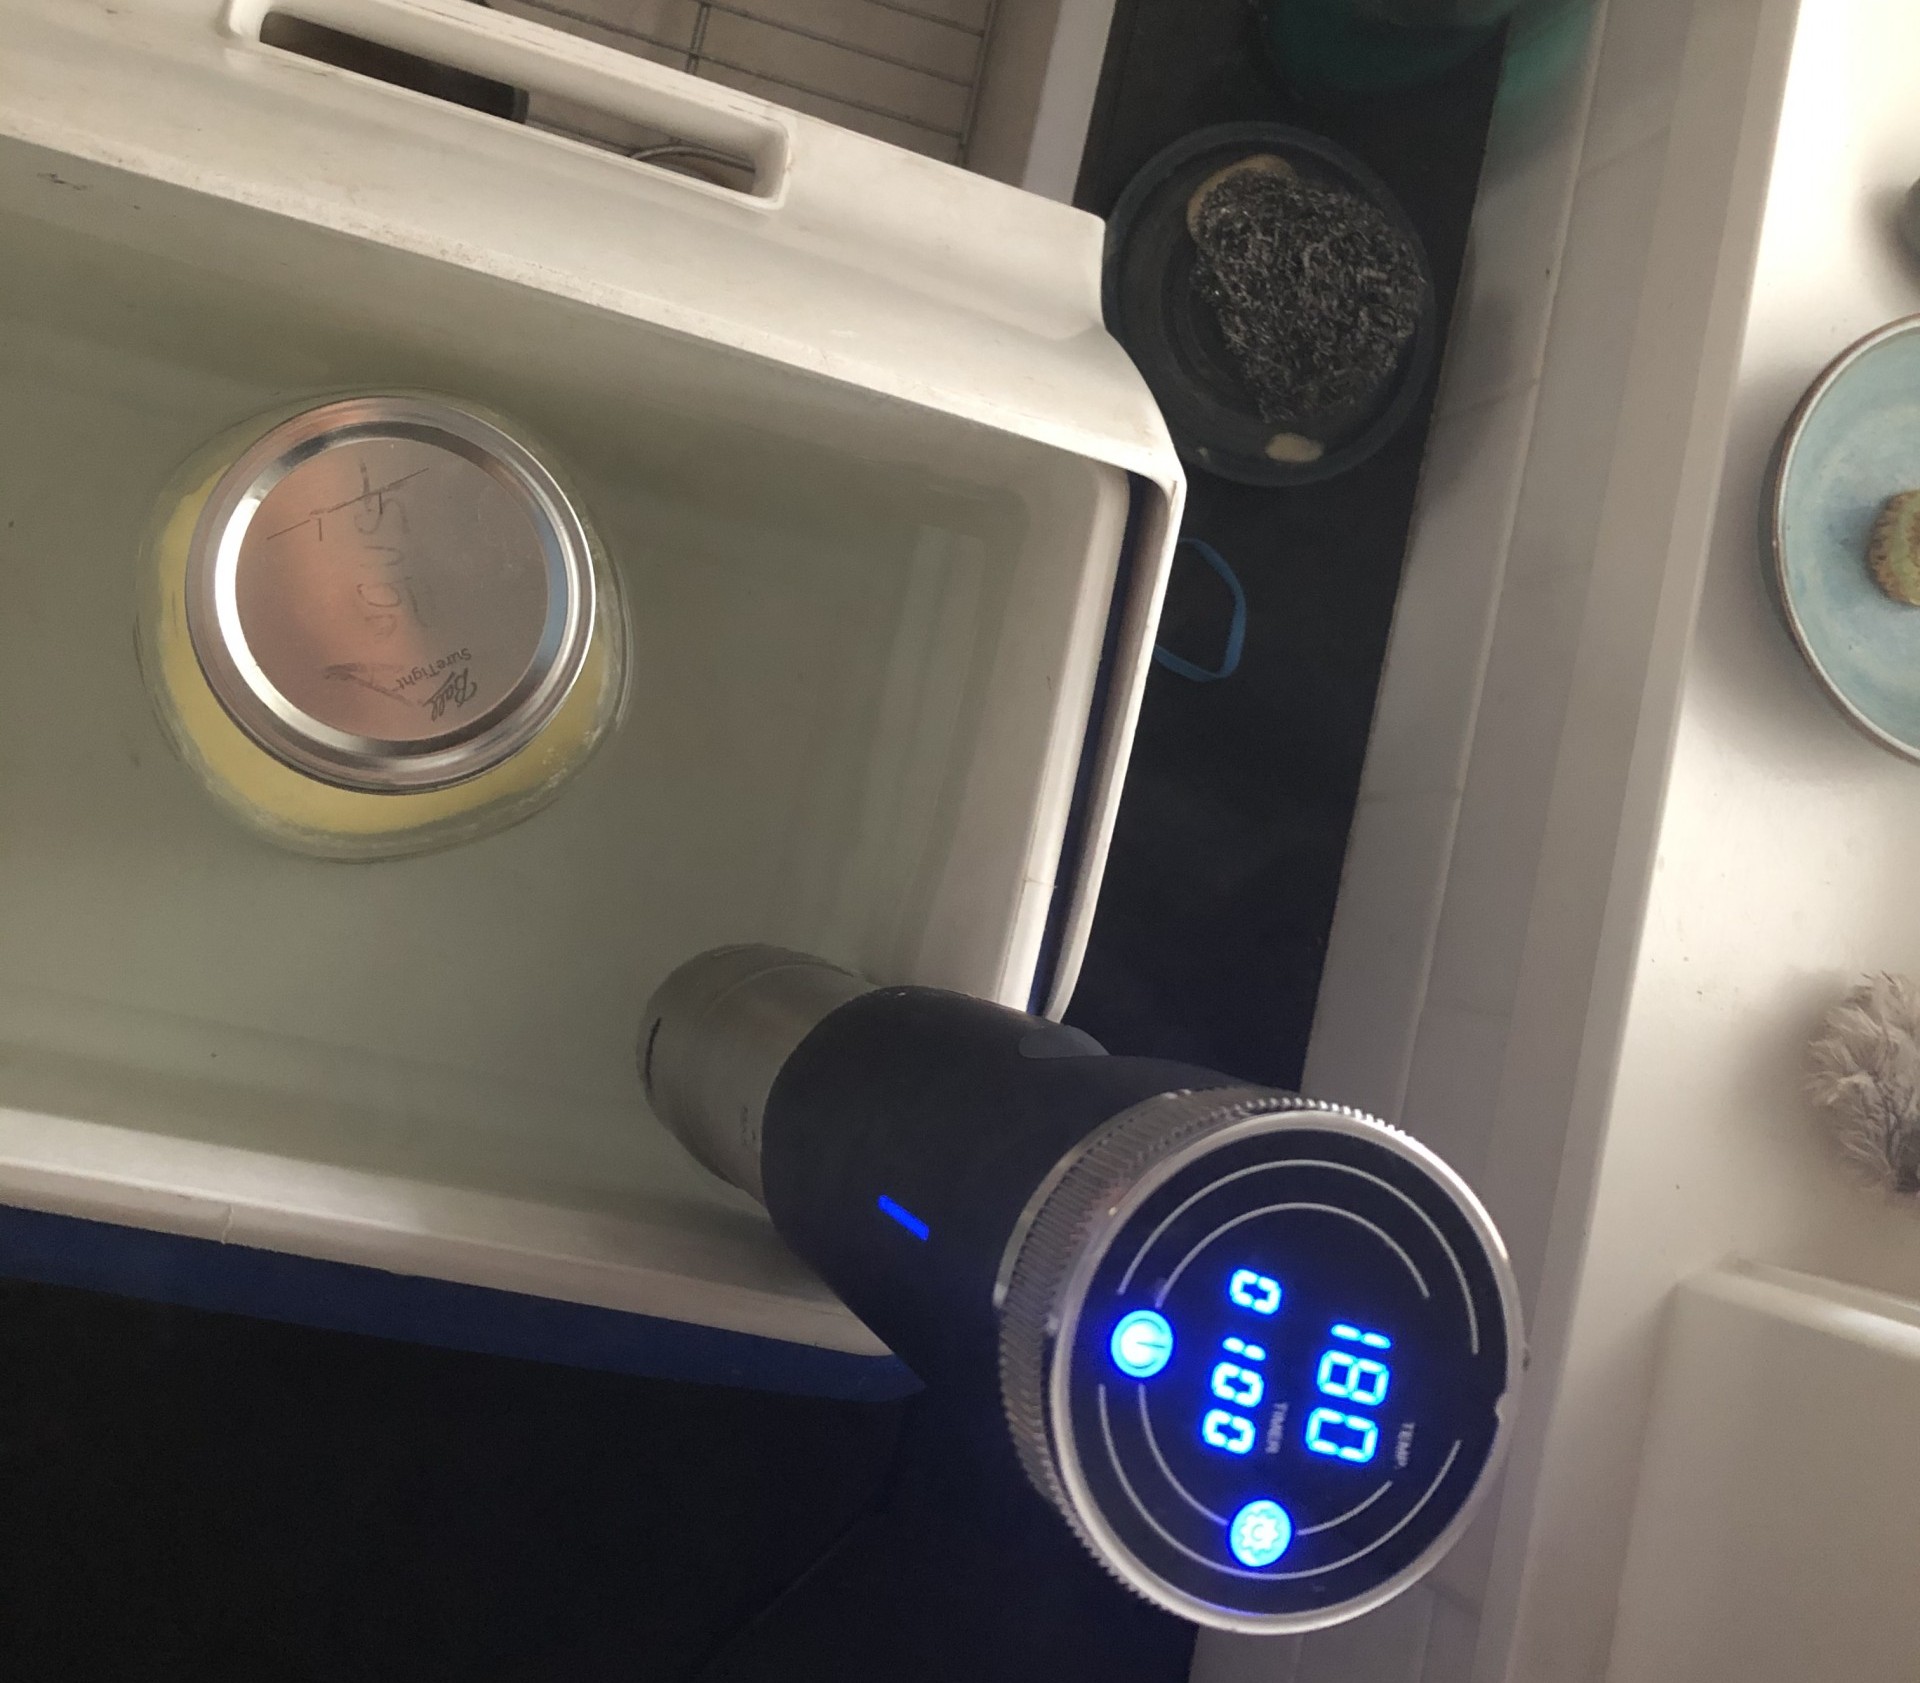
We use a “sous vide” which is a fancy cooking tool that was a gift and was on it’s way out of my kitchen (because most sous vide involves cooking in a plastic bag and I’m not keen on the waste and/or potential health risks of heating up plastic bags with food in them) when Robbie realized it is the perfect tool for making yogurt!
If you don’t own a “sous vide”, don’t panic! Lots of people make yogurt using a pot on the stove, a cooler (yes, like the kind you use to keep food cold at a picnic or the beach), and an oven. I’ll provide comments for modifying the process for this alternative method below too!
If you’re just starting to make your own yogurt, you need a culture (much like sourdough starter or a kombucha mother). Look for yogurt that contains “live and active cultures” when shopping at your grocery store. Once you’re making your own yogurt regularly, you have to remember not to eat it all… you’ll always need a couple of tablespoons to start your next batch!

The recipe below is for 1 quart of milk, but it’s scalable for any amount you want to make. We make our yogurt in 1/2 gallon glass jars and can make up to 1 1/2 gallons in our cooler.
Homemade Yogurt
you can download a PDF of this recipe here
Ingredients
1 quart Milk
1 Tablespoon of yogurt per quart of milk (see note above about live and active cultures)
Cooking Instructions
- Bring milk to at least 180F. The point of this step is to kill competing bacteria and improve the texture of the final product. You only need to leave the milk at this temperature for a few minutes.
- I fill my cooler 3/4 full with hot tap water (enough to cover most of the jar, but not so much that the jar is completely under water), place my jars of milk in the hot water (lids on, but the water should not be over the lids), set the sous vide to 180F and wait for it to heat the water (and thud the milk) in the cooler to 180F
- If you’re making yogurt without a sous vide, I recommend slowly heating your milk in a pot on the stove to 180F. You want to do this slowly and stir regularly, so you don’t burn the milk on the bottom of your pot. If you have a thermometer, use that to determine when your milk has reached the right temperature. If not, you’ll know its hot enough when the milk starts to simmer and bubbles form around the edge of the pot (different recipes will tell you 180 – 200F, so don’t worry if your temperature creeps above 180)
- Reduce heat to 110F.
- I do this by resetting the temperature on my sous vide to 110F and adding cold water to the cooler. Be careful not to pour the cold water directly onto your glass jars as sometimes they crack.
- If you’re making yogurt without a sous vide, simply take the milk off the stove and let it cool. Again, if you have a thermometer, use it to monitor the temperature, aiming for 110F. If you don’t have a thermometer, 110F will feel pleasantly warm when you stick your pinky into the milk for 10 seconds. You can rush this step by putting your milk into a jar (with a lid) and putting the jar into a bowl/pot of cold water/ice. Do this slowly. Putting a really hot jar into really cold water sometimes causes the jar to crack
- Add yogurt. Stir 1 Tablespoon of active culture yogurt (see note above) into each quart of warm milk.
- Let sit at 110F for 6-12 hours.
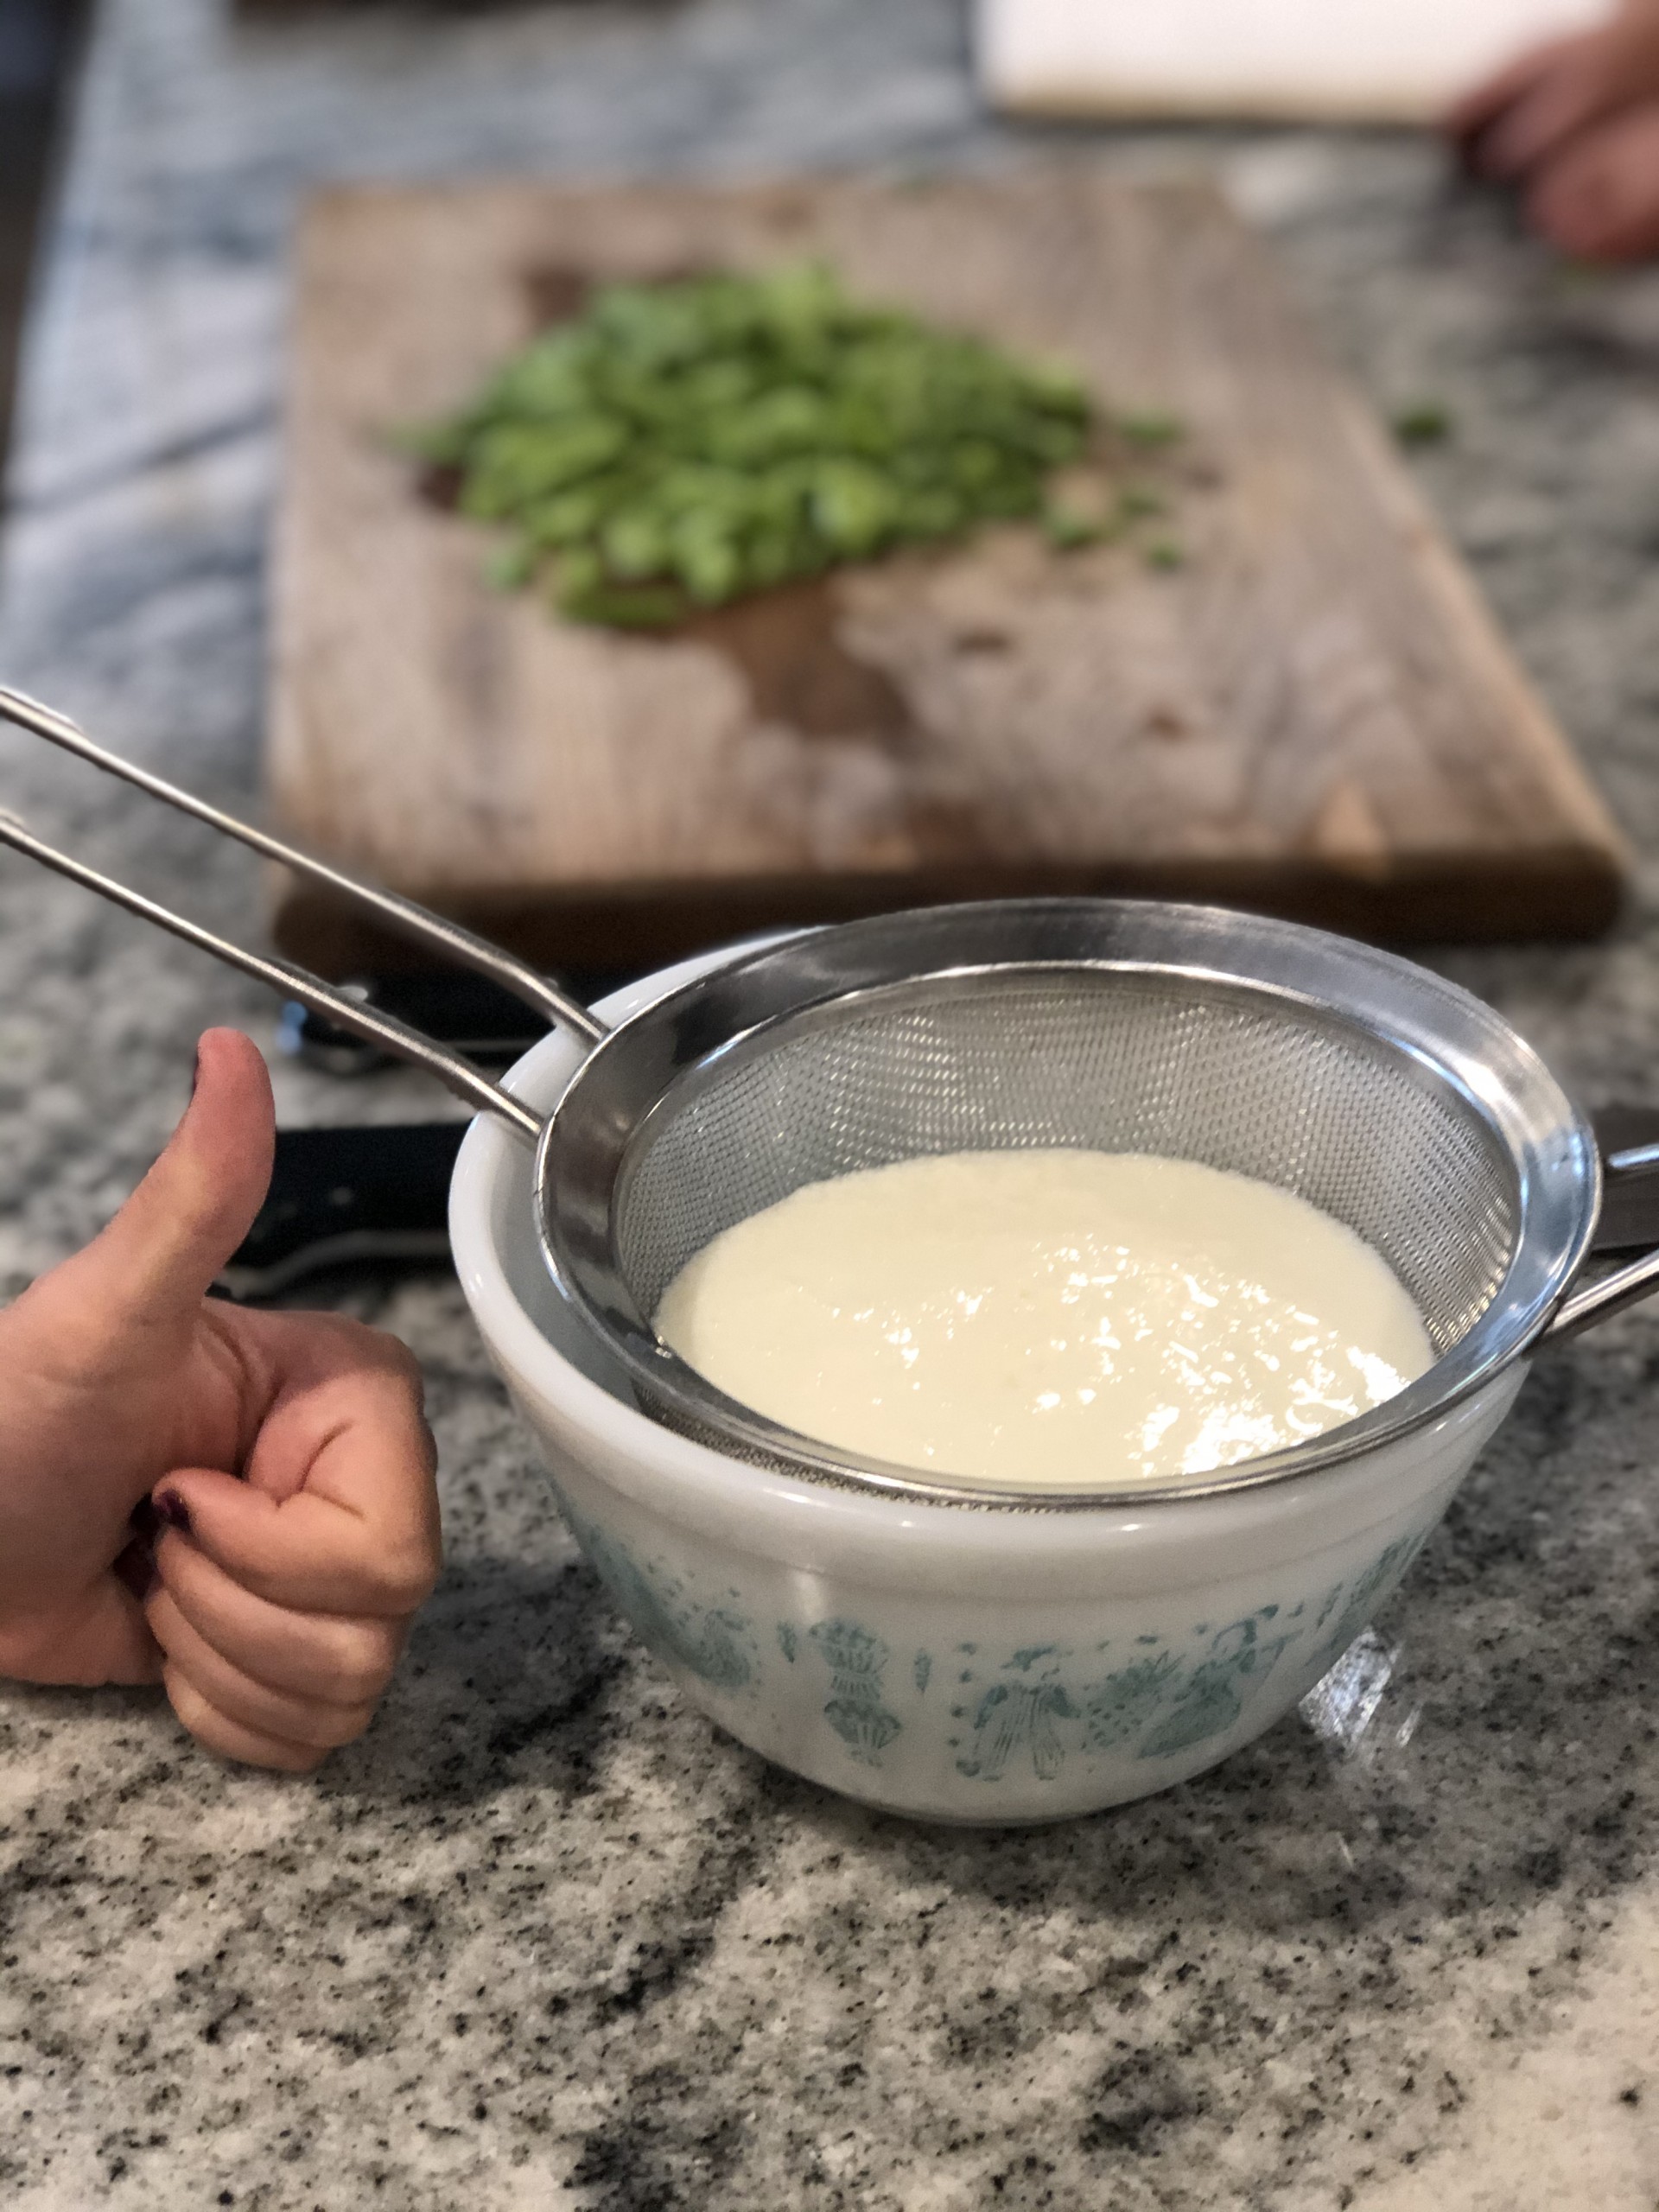
- I do this by leaving the sous vide set to 110F for 8 hours. I take the sealed part of my lid off, cover the jar opening with a clean cloth, and hold it in place with the jar ring (see photo) to give the yogurt a little air flow.
- If you’re making yogurt without a sous vide, you might need to play around with this step to figure out the best way to keep your milk/yogurt at 110F. Here are some common ways:
- Keep the warm milk in the warm pot (with a lid). Wrap it in a towel and leave it on top of the stove, in your oven with the light on, or on top of your refrigerator. You might need the full 12 hours for the yogurt to get thick enough.
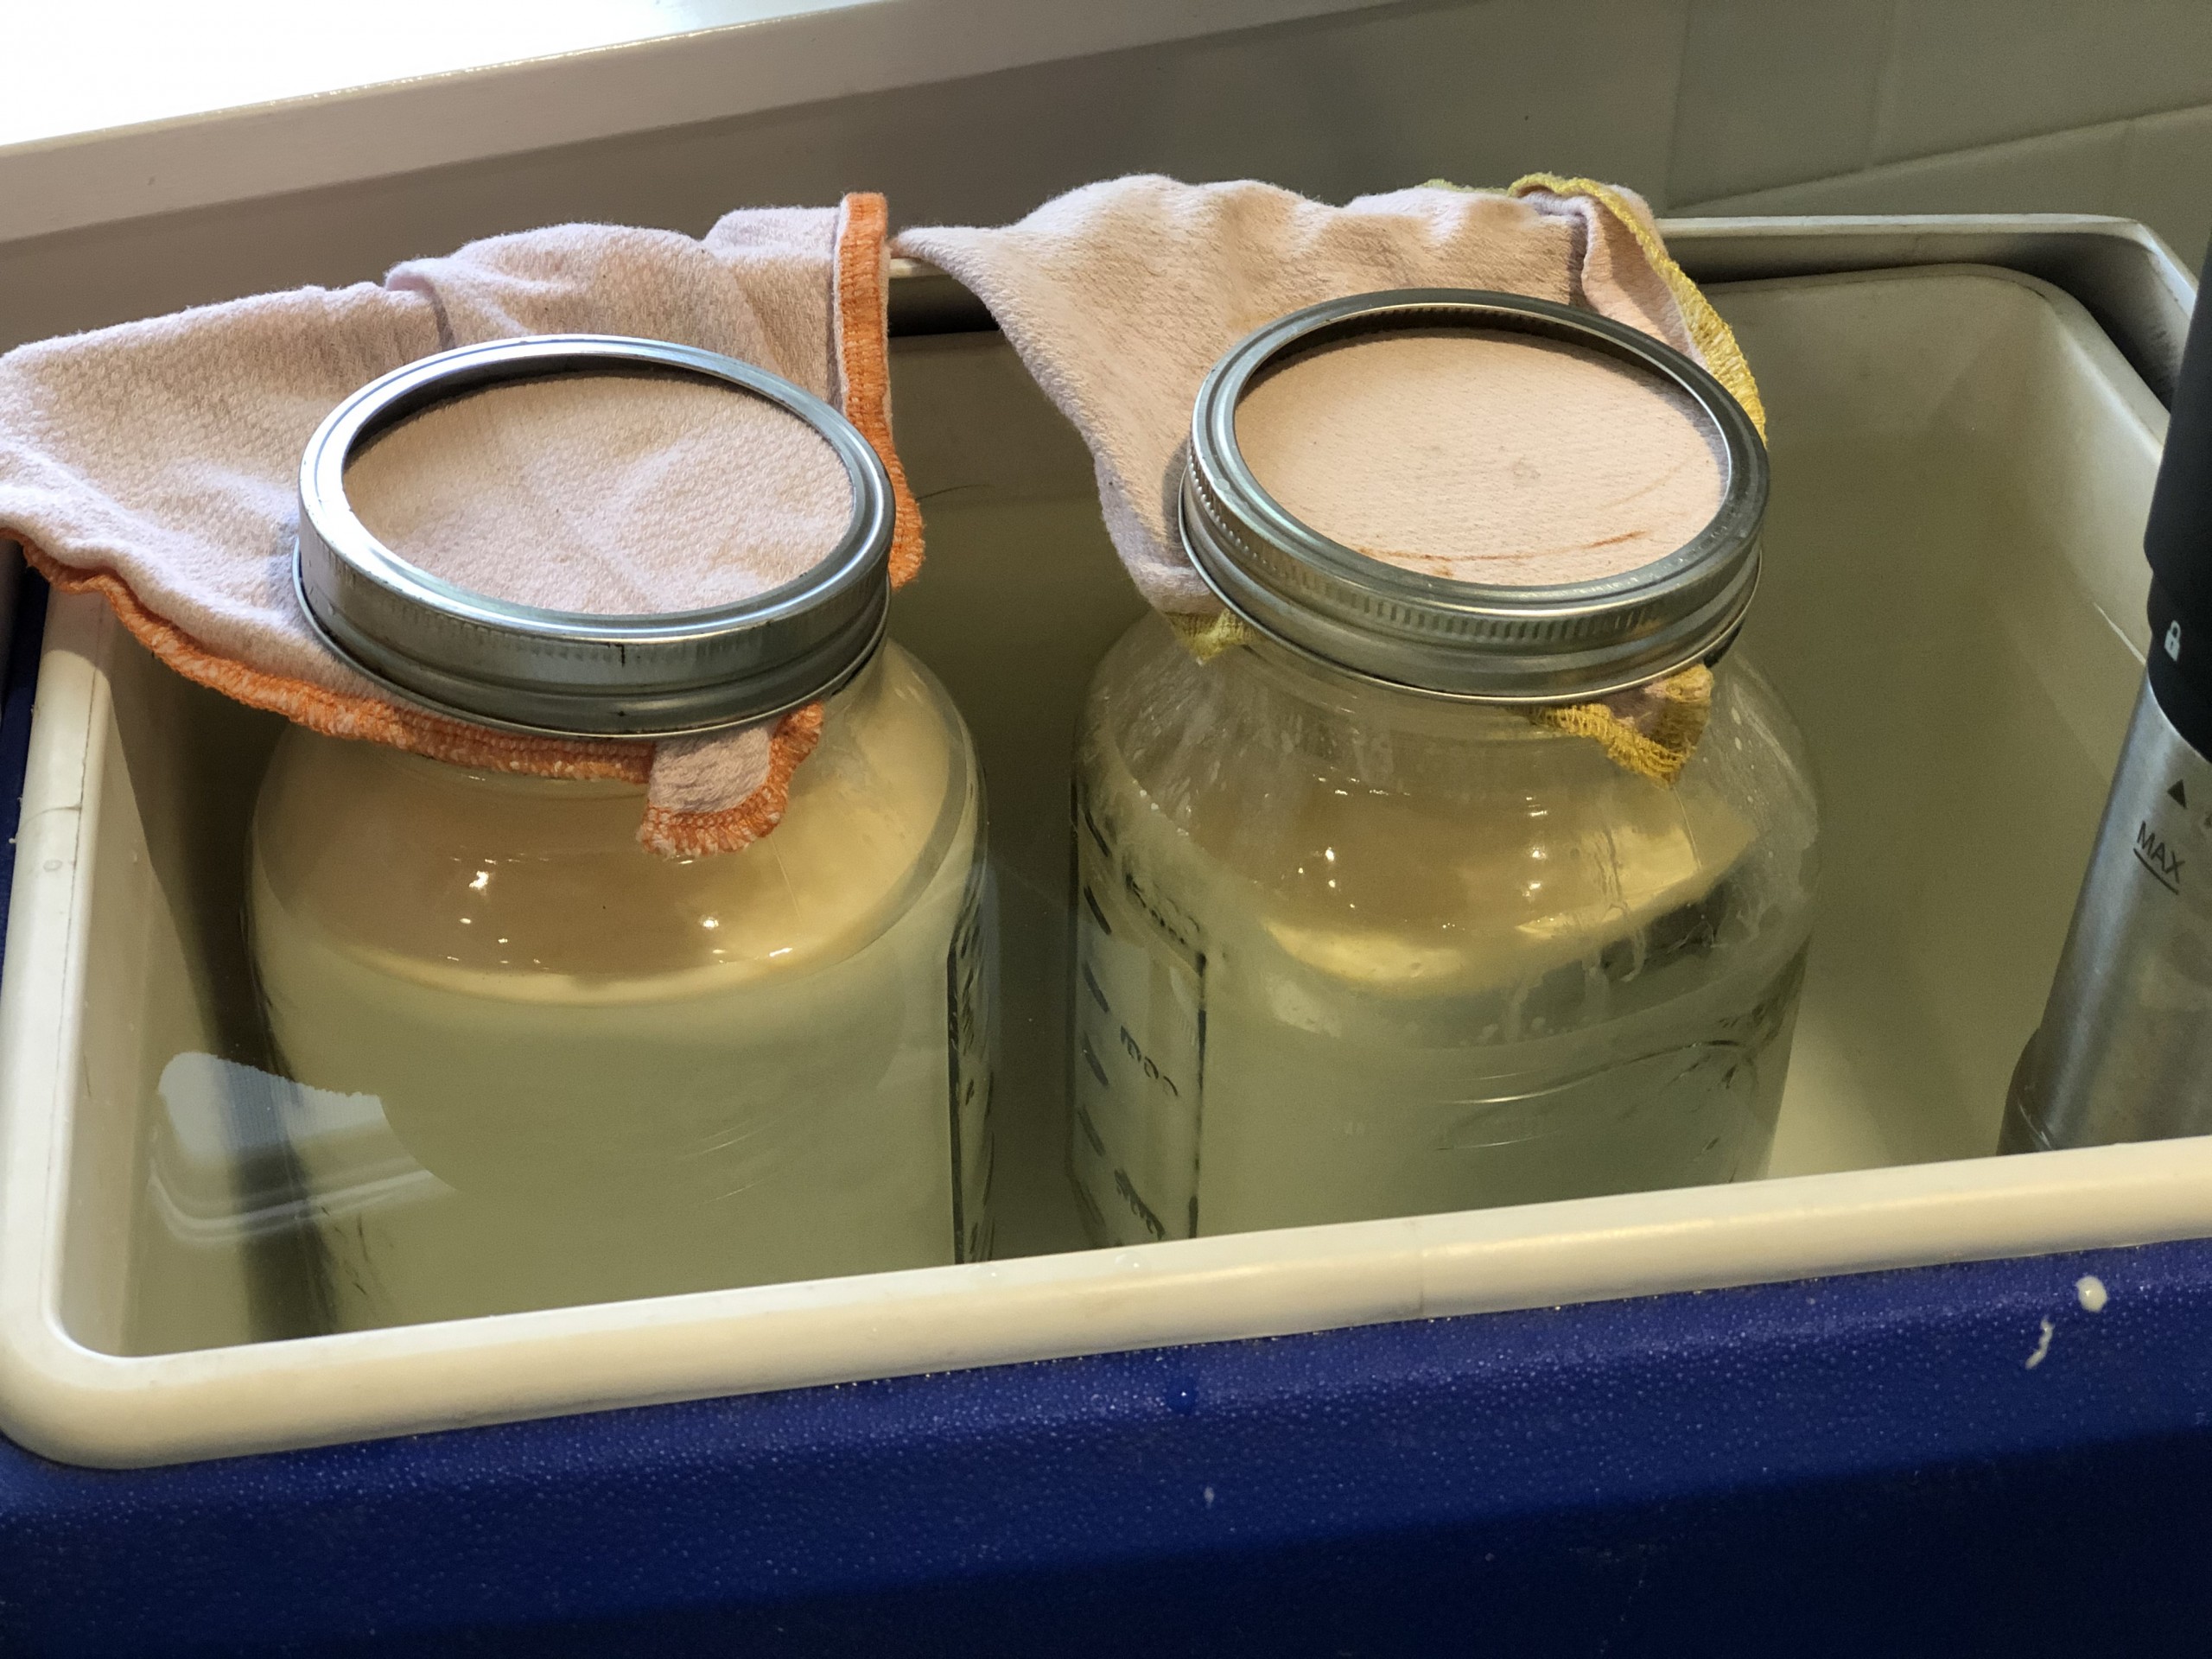
- Put the milk/yogurt into jars. Fill a cooler 3/4 full with hot tap water (this should be between 110F and 120F and your water level should be high enough that the jars are mostly submerged, but not so high that they’re under water (see photo)), place jars into this hot water bath and close the lid of your cooler
Enjoy!
You’ll of course want to refrigerate the yogurt after the 6-12 hours. And its worth noting that the yogurt will continue to thicken as it cools completely in the fridge.