
Holidays can be a struggle for those of us who find joy in less. Less shopping. Less stuff. Less garbage. I think it’s really important to be able to show my love while staying true to my values and goals. Robbie doesn’t want long stem roses (frankly, neither do I). We’re all about gifting each other acts of service and quality time together, so a thoughtful, delicious meal or a full speed hike in the woods (you know, compared to the achingly slow amble that is hiking with children) fills our love tanks and helps us feel connected.
But what if gifts is your (or your partner’s) love language? And how do we navigate the challenging world of the school Valentine’s Day party?
For these situations, I can offer you a couple of suggestions and a little tutorial for homemade, low waste Valentines.
Here are a few recommendations for low- or no-waste gifts:
- Consumables. In my world, gifts of food are always welcome. There are lots of ways to give the traditional gifts of chocolate in a less impactful way.
- Consider buying from a local business and try to avoid packaging. Lots of local coffee and candy shops will sell you bulk candy in a paper bag or your own container, instead of the cellophane wrapped heart box that has become the tradition.
- Or consider buying FairTrade Certified chocolate, so you know the food was raised and harvested in an environmentally and socially responsible way.
- If chocolate isn’t your thing, consider gifting another favorite food, like a special fruit, a favorite meal, or dessert. Bonus points if you support a local, small business or buy your food without packaging.
- Plants. If you’re looking for an alternative to cut flowers, consider a potted plant instead. You can choose something that will continue to grow inside you home, improving your general health and air quality, or a type of plant that can be planted outside in your flower garden in the spring. Don’t overlook the fun option of edible plants. Herbs, like rosemary, or dwarf fruit trees, like lemons and limes, make a really fun gift!
- Something really practical. If your partner is the kind of person who really loves tearing open the wrapping paper, opening a box, and discovering the gift inside, consider gifting them something they actually need. One year, Robbie gave me a dozen pairs of my favorite socks. In the middle of winter in Michigan, this is a grand expression of love!
Ok! On to the homemade Valentine’s tutorial!
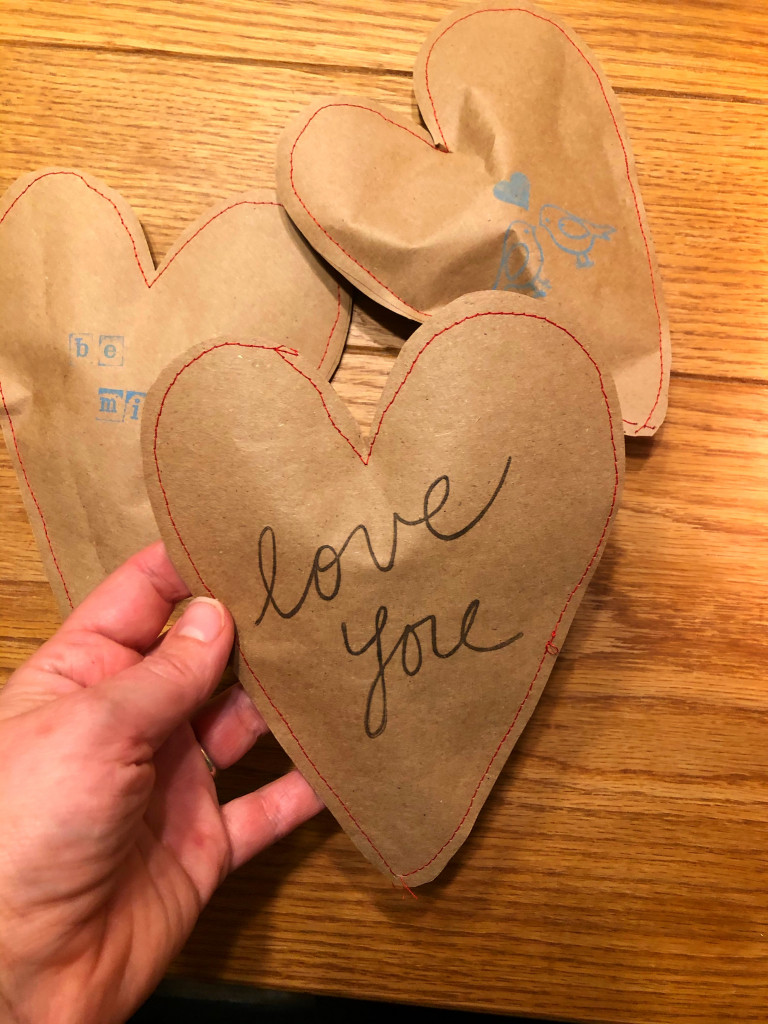
My oldest daughter and I were inspired by beautiful homemade valentines created by @tulips_and_a_toolbox, so we decided to have a try at making our own. I was shocked at how well it worked to sew paper, so I just had to share the details with you! (Yes, you read that right, we sewed these paper Valentines… on my sewing machine!)
If you want to make them exactly like ours, you’ll need the following supplies, but this craft is so flexible that I encourage you to substitute supplies you already have in your home. There’s no need to go our a buy anything special for this!
Recommended Supplies:
- Paper – we used brown craft paper from a big roll. You’ll see in the tutorial that this was less than ideal; flat paper would work slightly better if you have it.
- Stamps + ink – we used this to decorate our valentines; if you don’t have stamps and ink at home or you’re doing this craft with younger kids markers, colored pencils, crayons, stickers, and/or stencils would also work great.
- Scissors
- Sewing machine + thread – you can absolutely sew these by hand (I tried it and it was hard, but doable; although the finished product didn’t look nearly as crisp and professional as the ones I sewed on the machine)
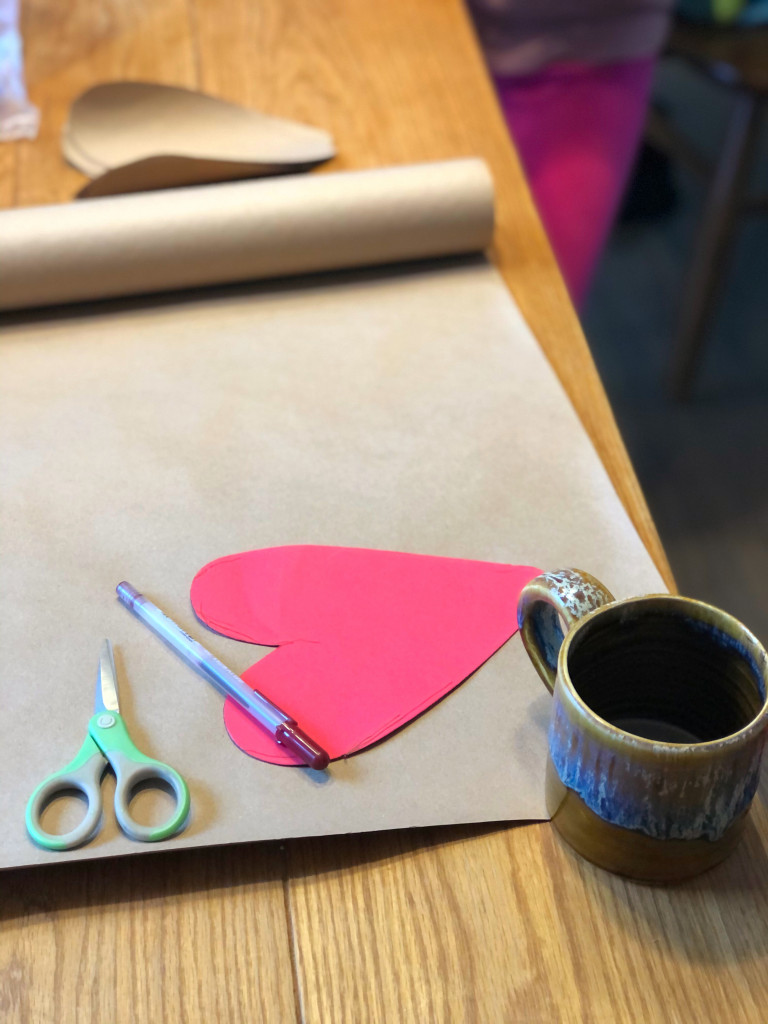
Step 1: Create a template
If you want to make your Valentines shapes uniform and consistent, I recommend creating a template that you can trace over and over again. I cut this heart out on my Cricut, but you could easily draw and cut out a template of any shape/size by hand. If you want to stuff your Valentines with a little gift, be sure to make the shape big enough that you’ll be able to fit the gift inside when you sew the two pieces together.
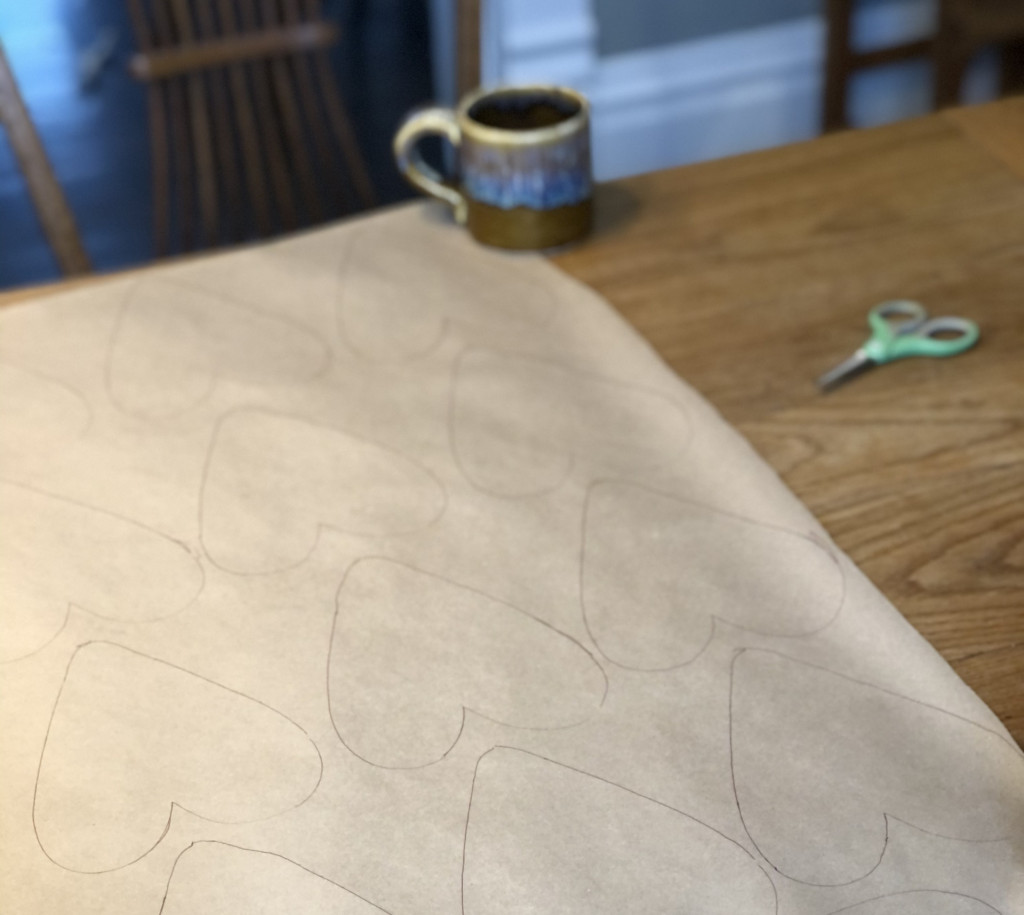
Step 2: Trace your template
Use the template to trace your hearts onto your paper. Remember, you’ll need two paper hearts for each Valentine if you’re planning to sew them together into a cute little pouch.
We used rolled brown paper, which was a little challenging as the paper kept trying to roll back up. As you can see in the photos, I used weights on the corners to hold the paper in place while I was tracing.
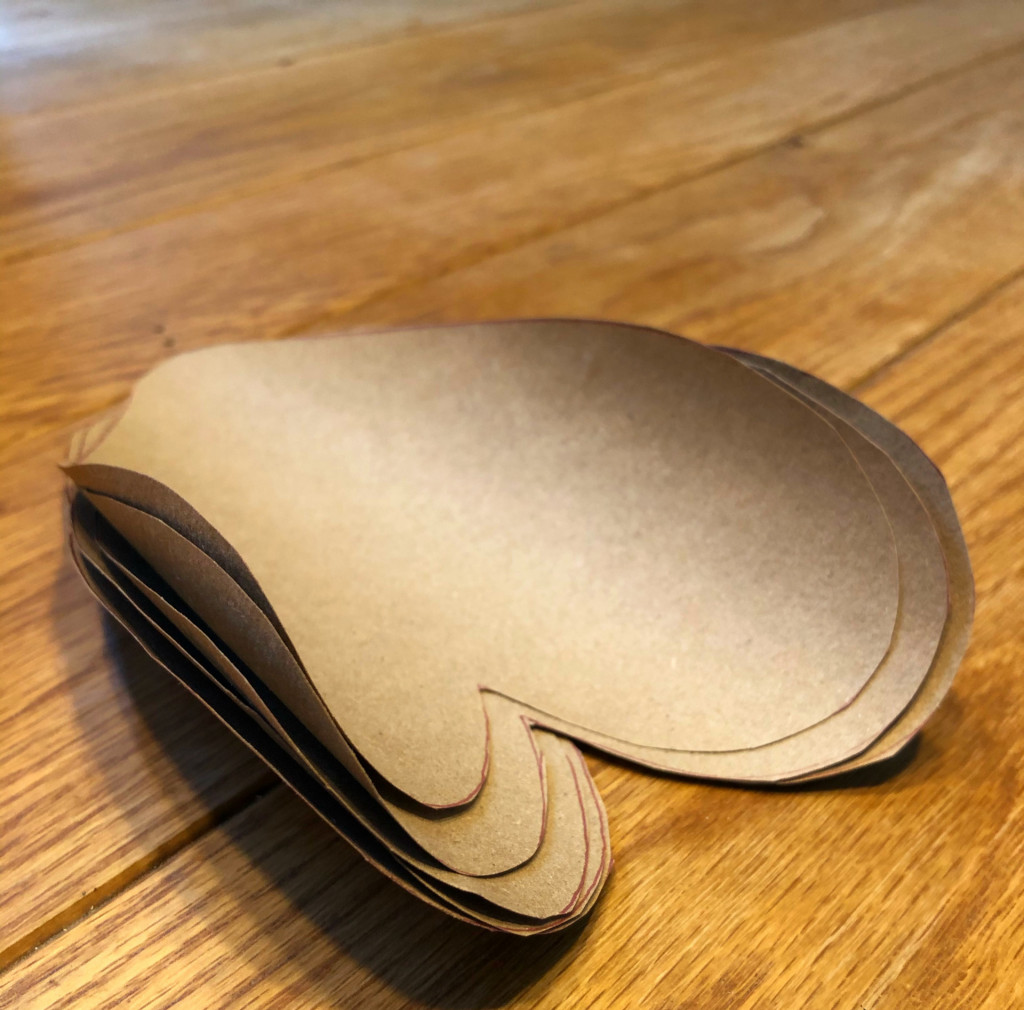
Step 3: Cut out your hearts
Cut out all your hearts at once. Again, mine kept wanting to roll up, so I had to flatten them under a heavy book before moving on to the next step.
Step 4: Decorate your Valentines
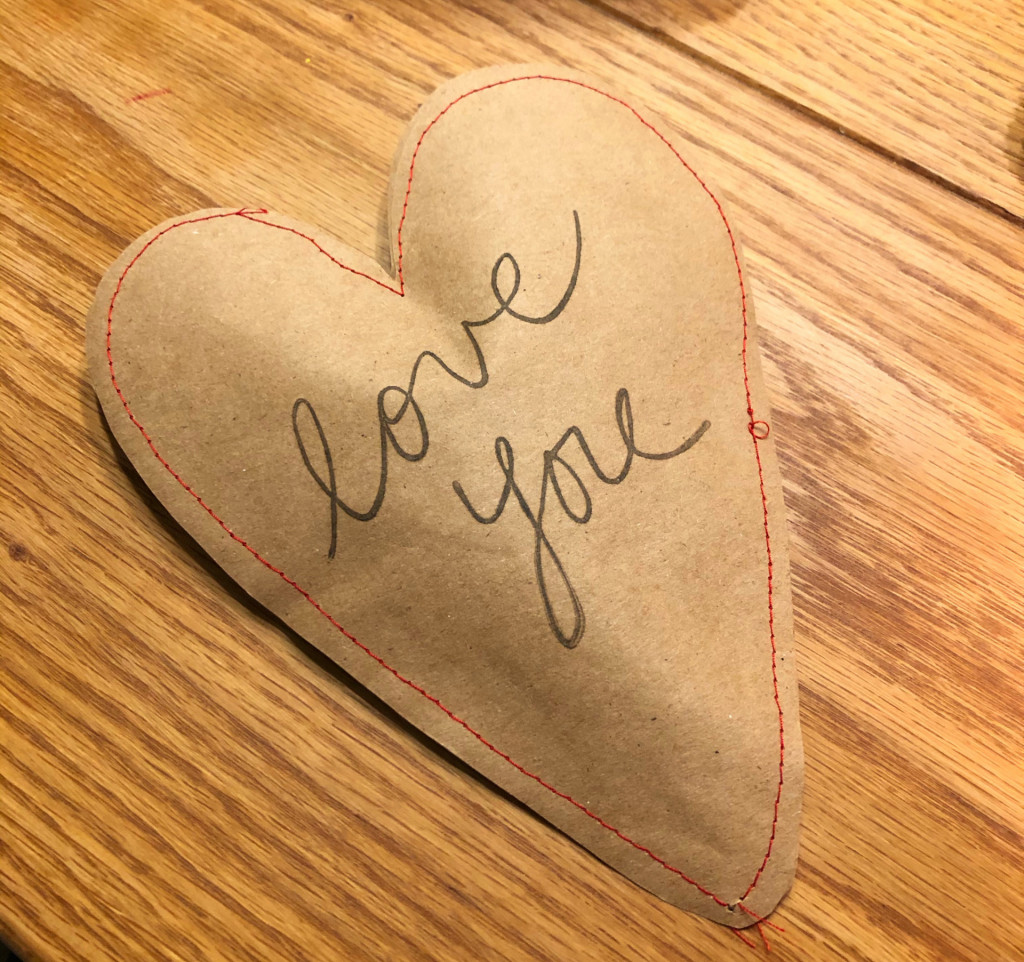
We had a great time using stamps and ink to decorate our Valentines with words and pictures to communicate love and well wishes! We used stamps, but again you could draw free-style or use stencils if you don’t have stamps/ink handy.
Step 5: Stuff and Sew
There are two ways to approach the stuffing/sewing.
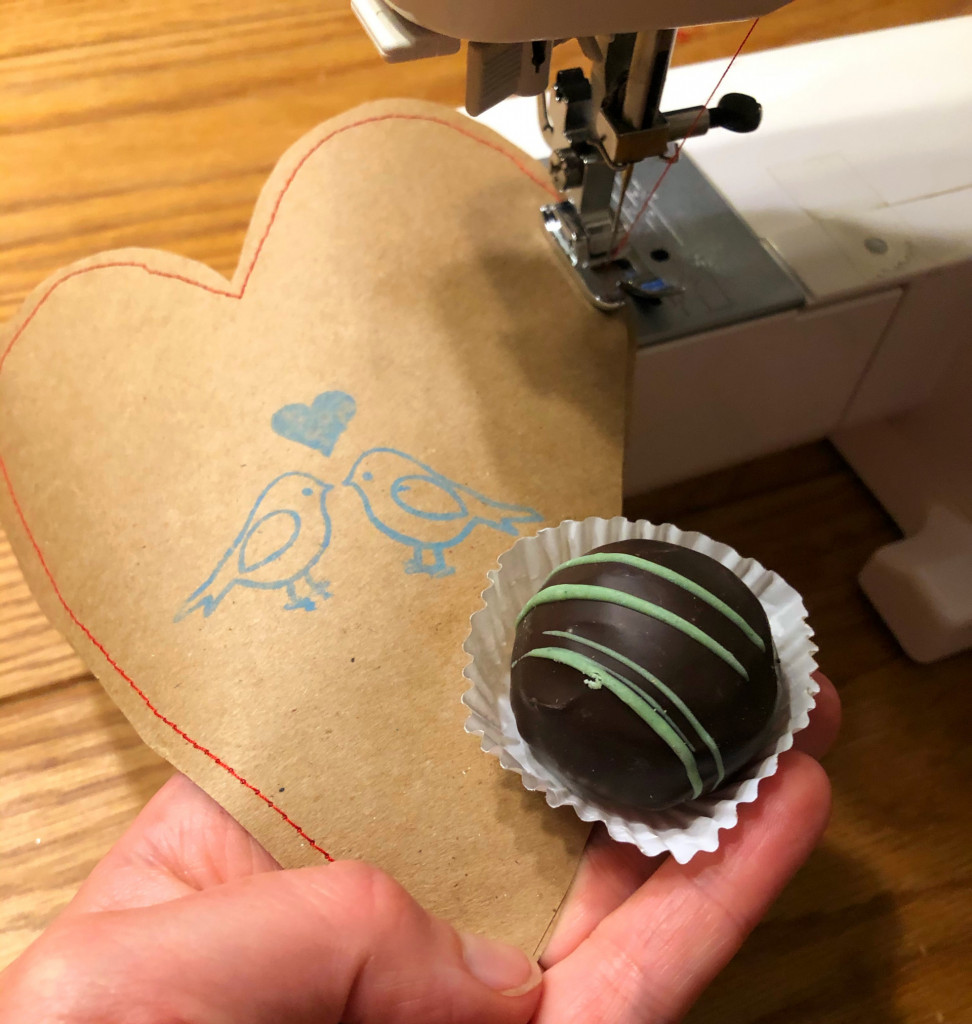
If your gift is small enough, like this truffle from my favorite local coffee/candy shop (Sweetland Candies), mints, or those little candy hearts with the cute messages, you can sew the entire way around the edge of your Valentine. I recommend sewing at least half way around, pausing to stick your little gift into the pouch, and then sewing the rest of the way.
Here are a few tips while sewing:
- Match your two pieces of paper, making sure the decorated side(s) are facing out. Hold them together and sew around the entire edge.
- I found that I didn’t need to pin or tape them in place, holding the two pieces together with my left hand while steering with my right seemed to work just fine.
- I also found that it didn’t seem to matter where on the heart I started and ended my sewing.
- If you’re an experienced sewer, have fun with various stitches and edging techniques! I decided I liked the simple look of the plain red stitch on the plain brown paper.
If your gift is bigger, like the fun dip candy my daughter wanted to give her third grade classmates, you can sew most of the way around the edge, leaving the top open.
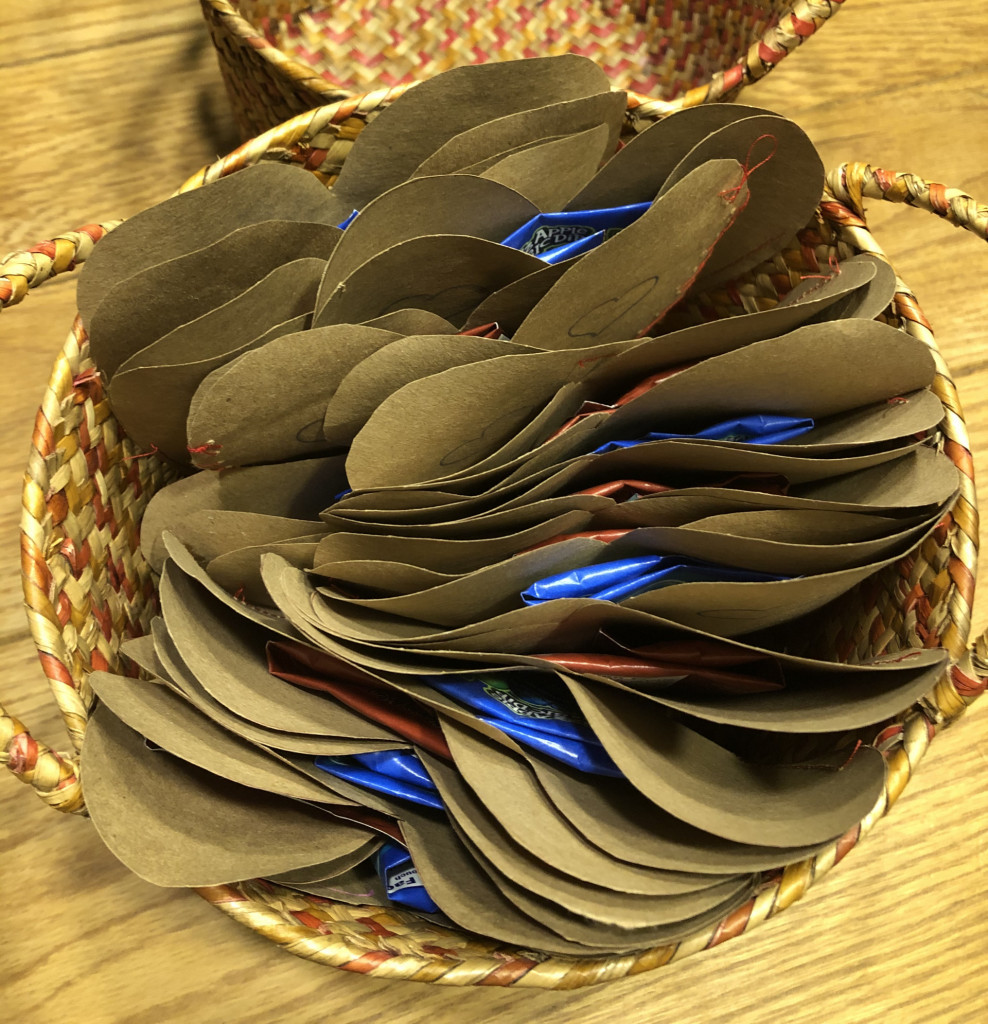
Voila! You’re done! You can make as many of these cute little Valentines as you want, in a myriad of sizes and shapes, depending on your gift giving needs, time available and attention span (especially if you’re doing this craft with little ones)!
Please drop your questions in the comments below. I’m always happy to answer questions!
And comeback to tell me about your experience! I can’t wait to see your beautiful homemade Valentines! If you share photos on Instagram or Facebook, please tag me @carbonfreefamily so I can celebrate your amazing results with you!