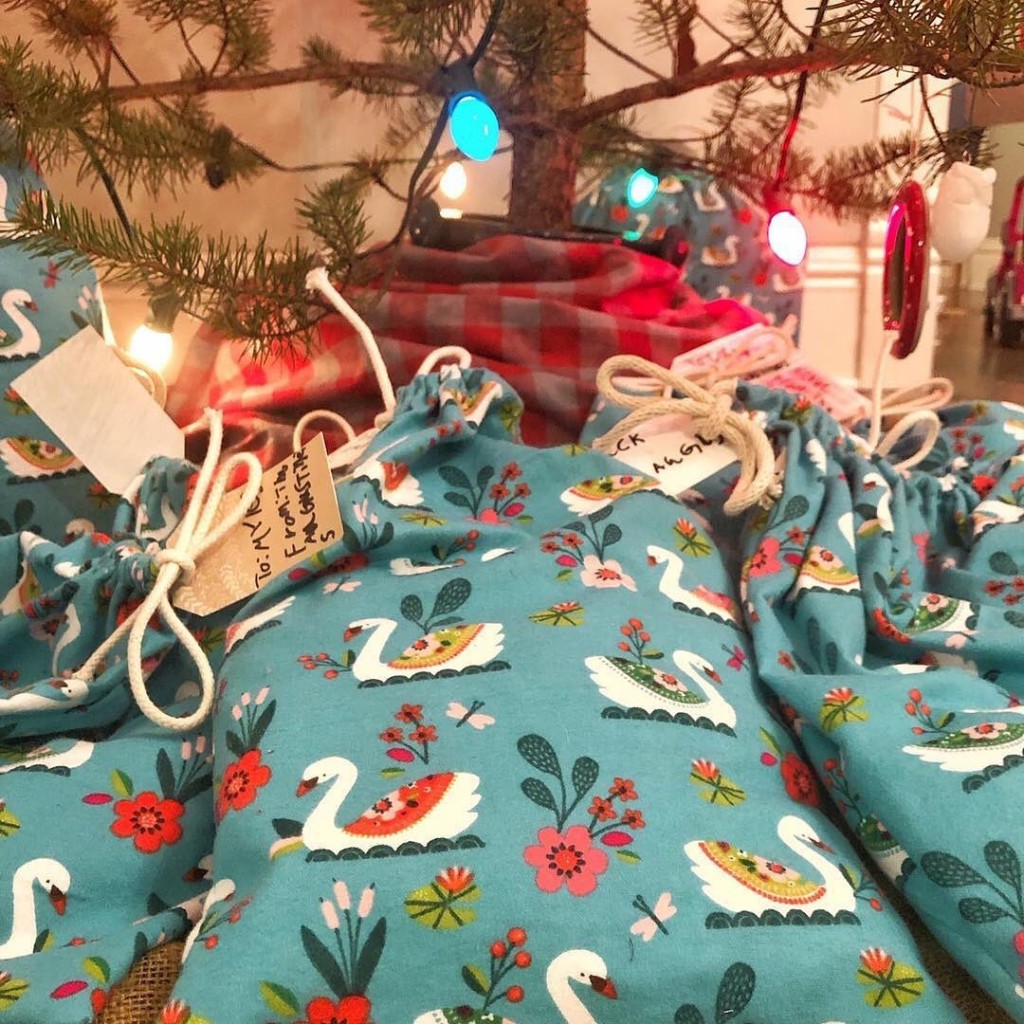
A few years ago, I sewed a bunch of reusable cloth gift bags in cheerful Christmas patterns and they continue to bring me such joy!
I love wrapping presents in these gorgeous bags. I love giving them to people (and am so honored when friends and family want to keep the bag in addition to the gift… in fact, you’ll regularly find me sneaking around and gathering my bags up after gift opening is over at our family gatherings). I love reusing them year after year!
AND they’re super easy to make! I swear, they’re a great project for beginner sewers because it doesn’t matter the size, shape, or even if they’re particularly square. The process is three simple steps: cut, sew, enjoy!
Step 1: Cut your fabric
If the exact size/shape isn’t important to you, I recommend letting your fabric dictate the size.
For example, my fabric is almost 42 inches wide, so I cut it exactly in half and made two 10 inch wide bags. I cut my fabric 15 inches tall and ended up with two 10”x13” gift bags. I love using printed fabric like this because it makes straight cuts easier. I pick a spot in the pattern and cut right along the “line”.
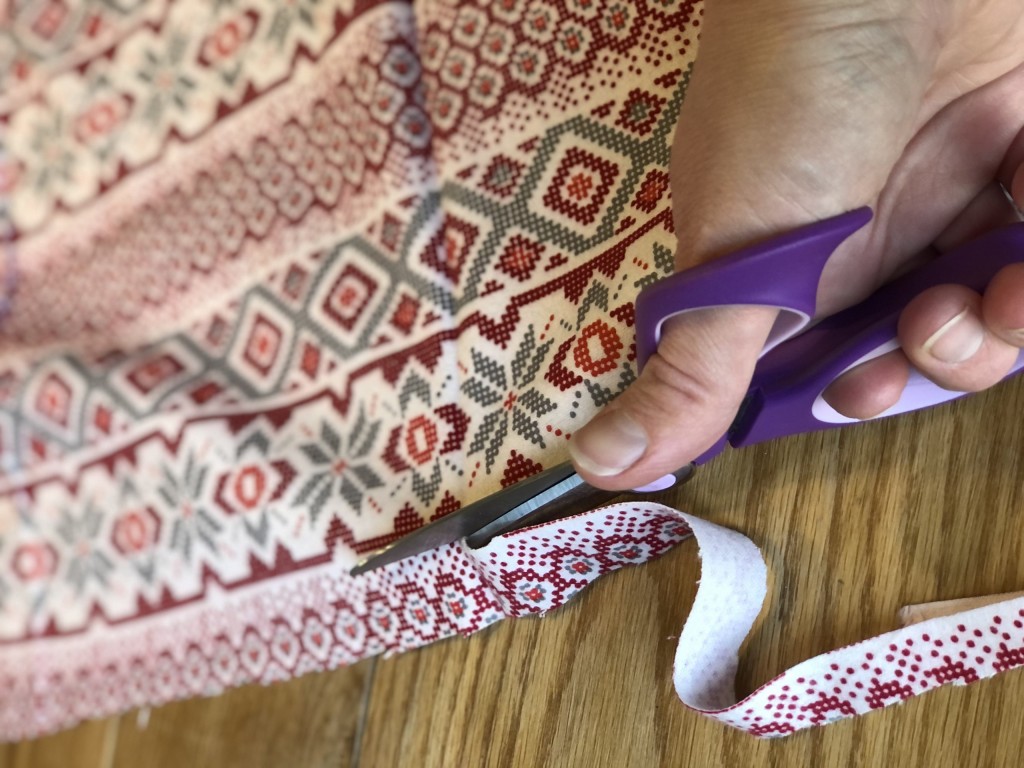
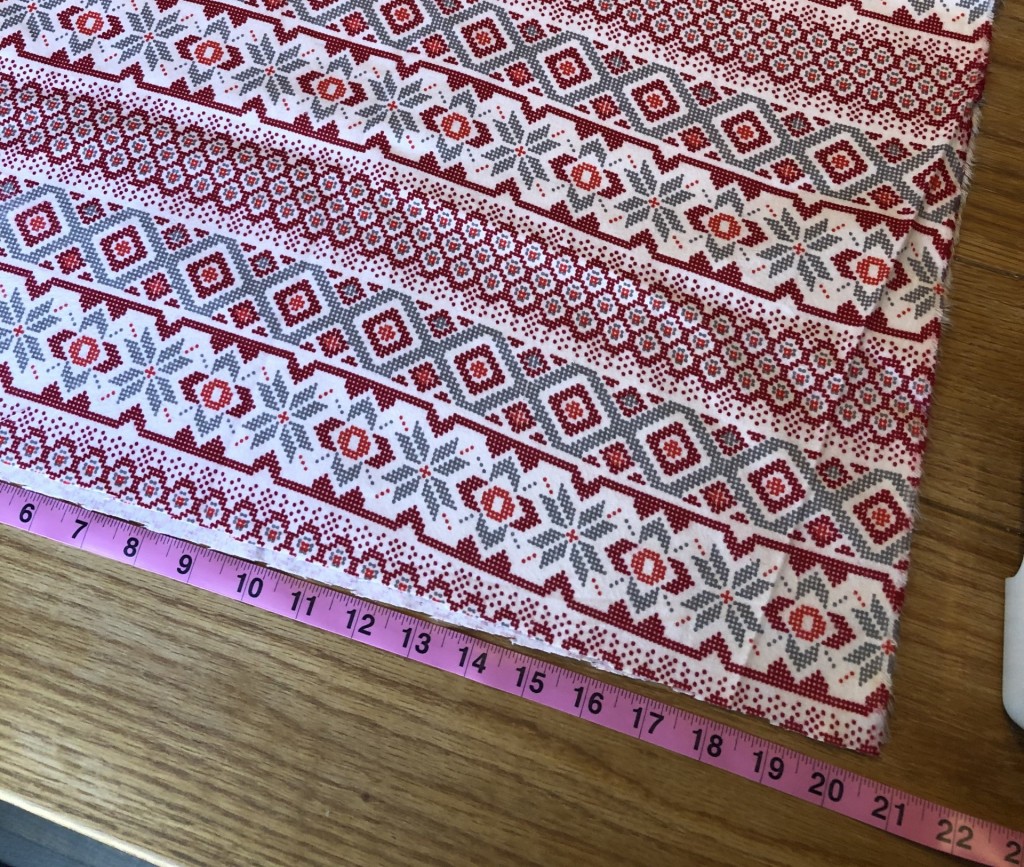
After cutting, my fabric is about 21 inches wide and 15 inches tall.
Step 2: Cut your cord
I used 1/4” cotton cord, but feel free to use bigger or smaller. Choose the top of your bag (based on the pattern) and cut your cord at least 8-10 inches longer than the width of your fabric (it will hang out 4-5 inches on either end when you’re done).
My fabric is 21 inches wide, so I cut my cord about 31 inches long.
Step 3: Sew your cord into place
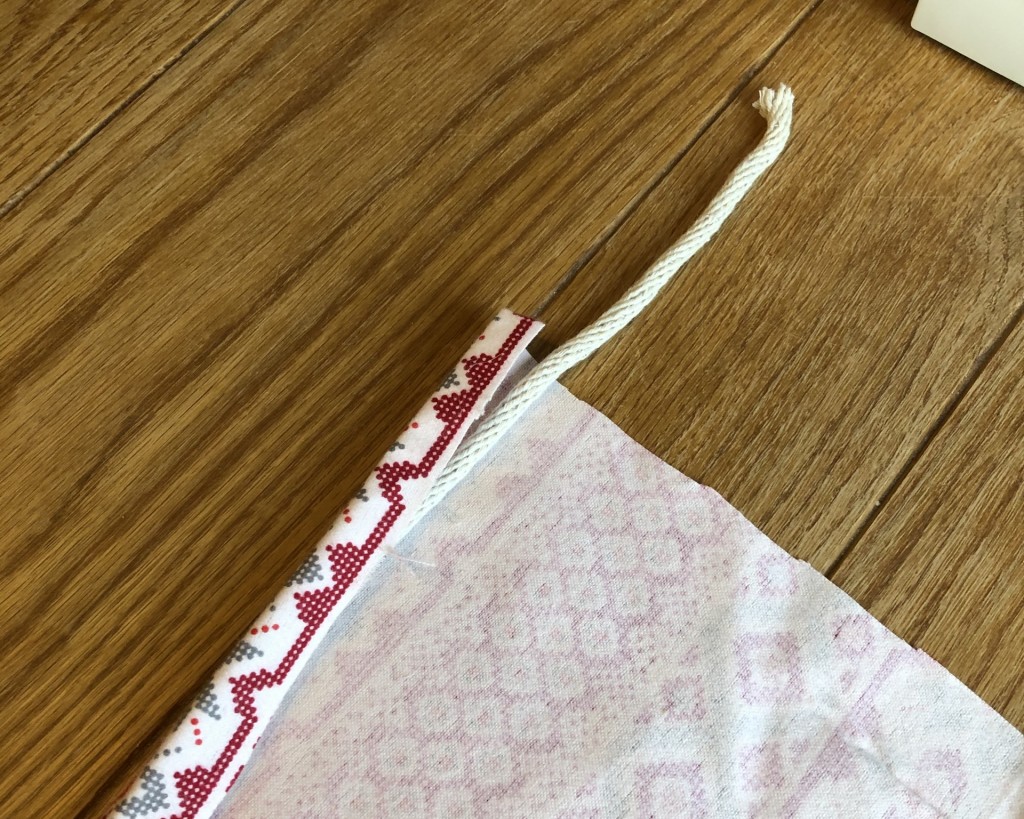
Place your fabric with the wrong side up* and the top pointing away from you. Place your cord along the top edge and fold the top of the fabric towards you. You’re going to sew a little pocket for the cord to slide through, so make sure there’s enough fabric that you can run your foot** along the seam without stitching the cord.
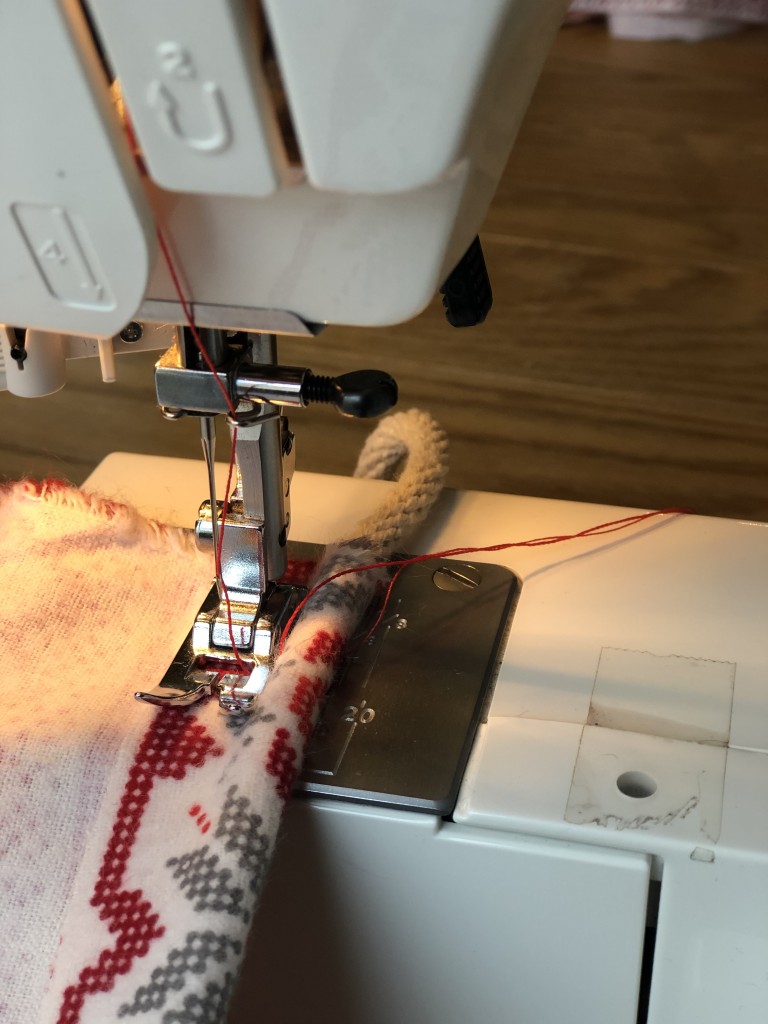
* the “wrong side” is what we call the back of your fabric, the side without the pattern, the side you want on the inside of your bag. ** the “foot” is the mechanism around the needle on your sewing machine as shown in this photo.
Step 4: Sew the other two seams
Keeping the wrong side up, fold your fabric in half. This will be the final shape of your bag, so the cord should be at the top and you should have seams to sew across the bottom and one of the sides. Trim any excess fabric if your edges aren’t lining up.
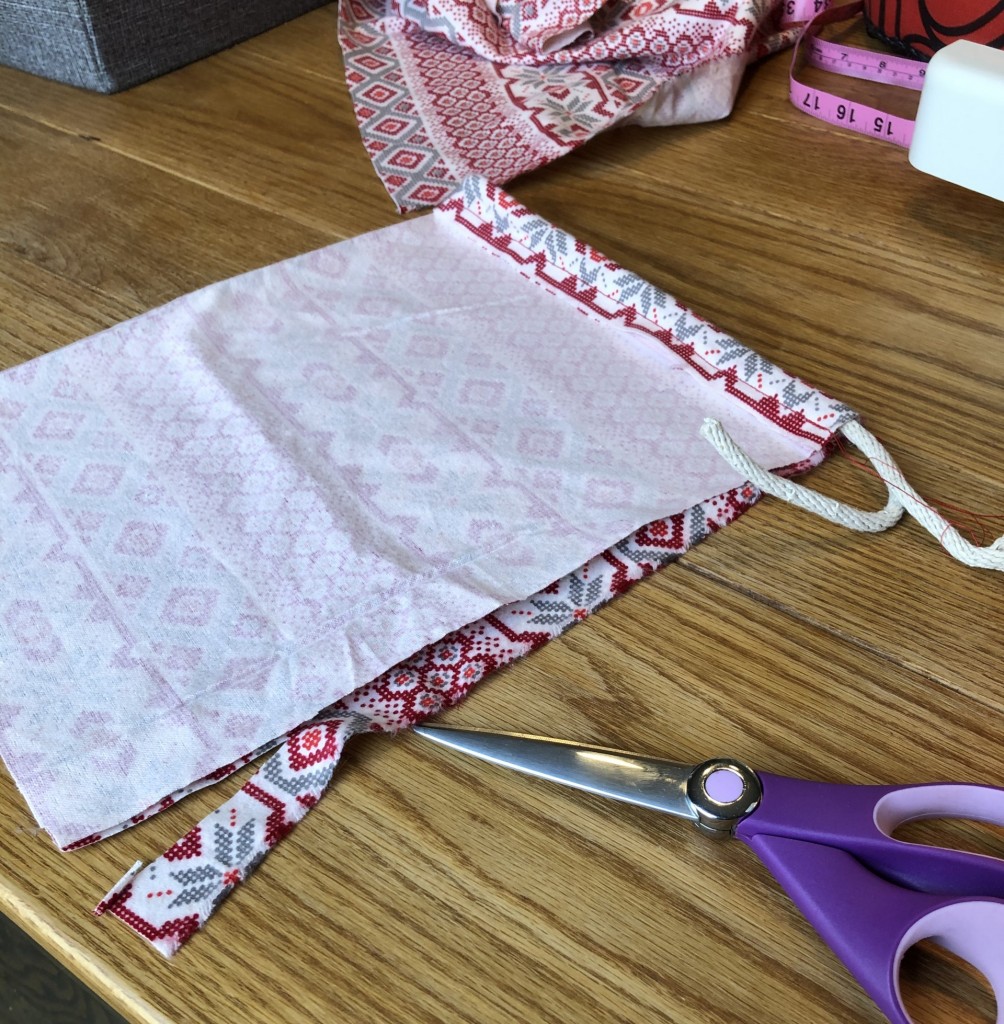
Go ahead and sew these seams. The only tricky part is making sure you don’t sew through the cord/pocket. If you do this, you won’t be able to pull the cord to cinch the bag closed.
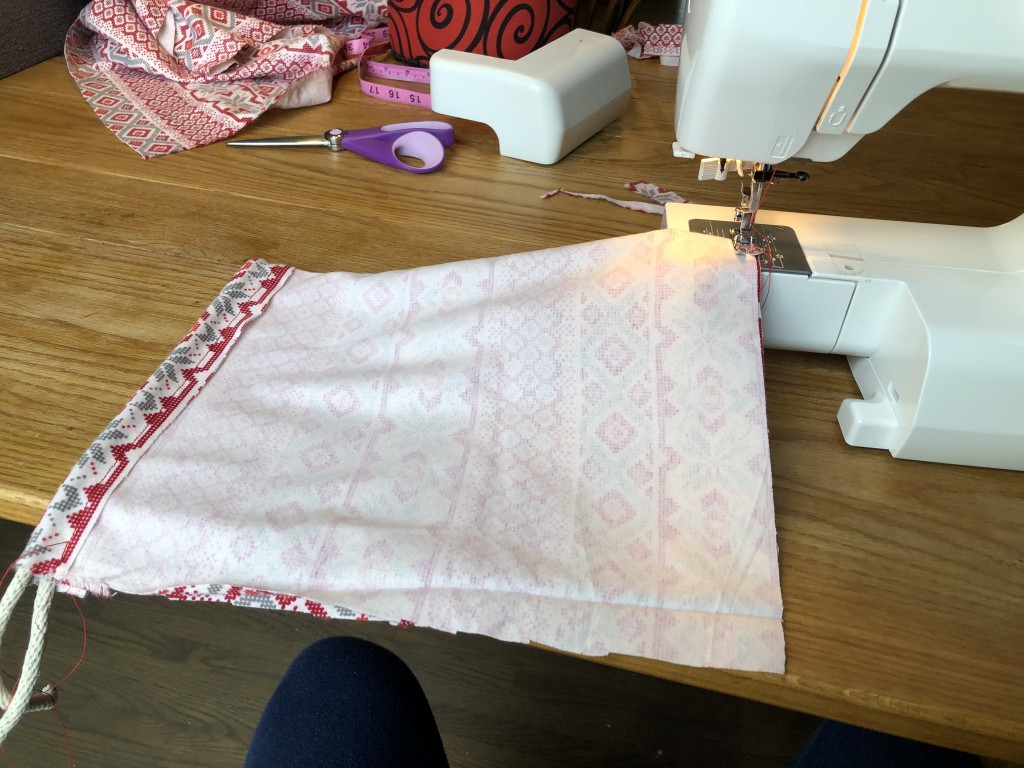
Trim extra thread and turn your bag right side out.
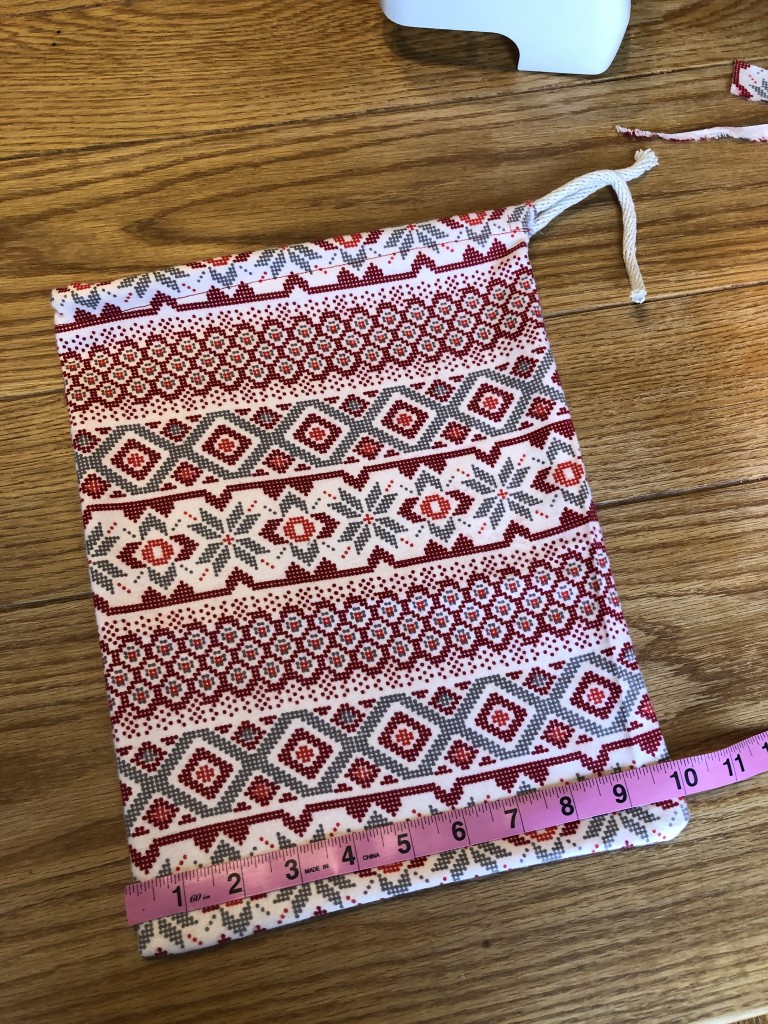
Step 5: Tie knots at each end of the cord
This will prevent the cord from accidentally getting pulled into the pocket when someone is opening their gift. Fishing the cord back out is certainly possible, but a royal pain.
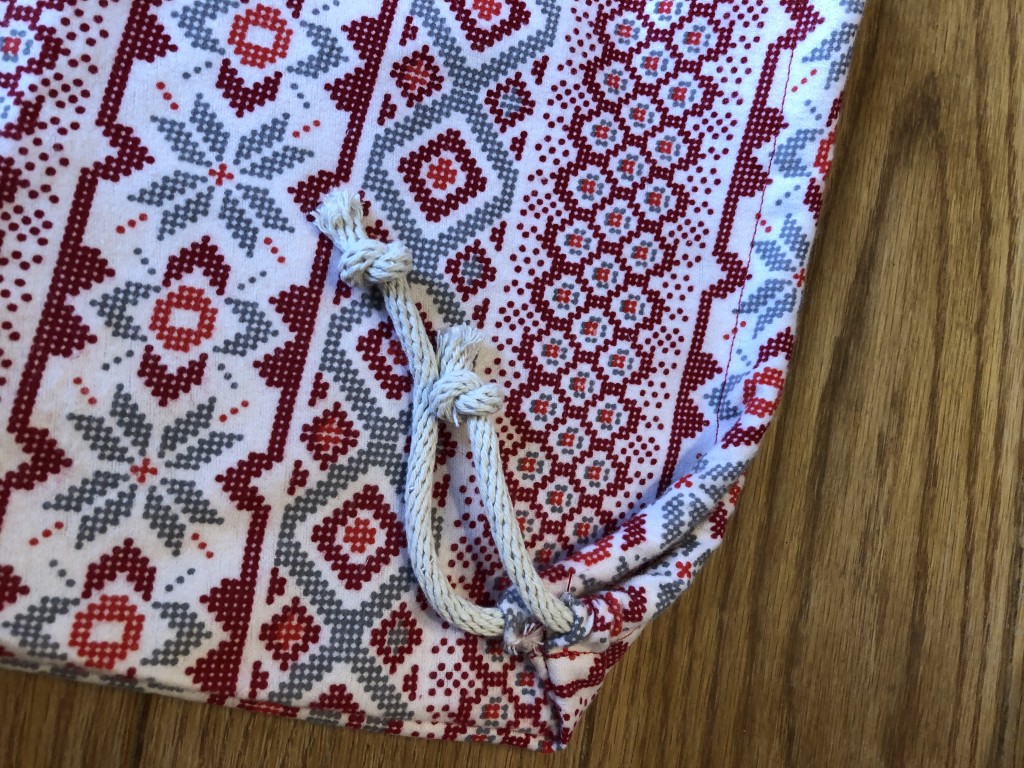
You’re done! You can make as many bags as you want, in a myriad of sizes to meet your gift giving needs!
I have about 24 bags total and the “10×13” bag I made today is the “medium” size bag in my collection. I have a bigger size (roughly twice as big) and a smaller size too. Three yards of fabric will yield about 8 medium and 2 large bags. I like to mix and match my colors and patterns, so I’ve purchased different patterns over the years.
Please drop your questions in the comments below. I’m always happy to answer questions!
And comeback to tell me about your experience if you’re making these reusable gift bags for the first time. I can’t wait to hear about your project!
PS. Does this post feel familiar? It should! It was originally posted a couple of years ago. I’ve updated and republished it because it’s one of my favorite posts.
