Here’s blog #2 on preserving tomatoes. As I mentioned before, tomatoes are such a favorite for me that I’m devoting several blogs to the various ways of preserving them. There are four lessons on this in the free Preserving Local Food course, including tomato paste and sun dried tomatoes. It’s my hope that these specific examples will demonstrate how you can use the various preserving methods presented in this course in combination to preserve your favorite local foods.
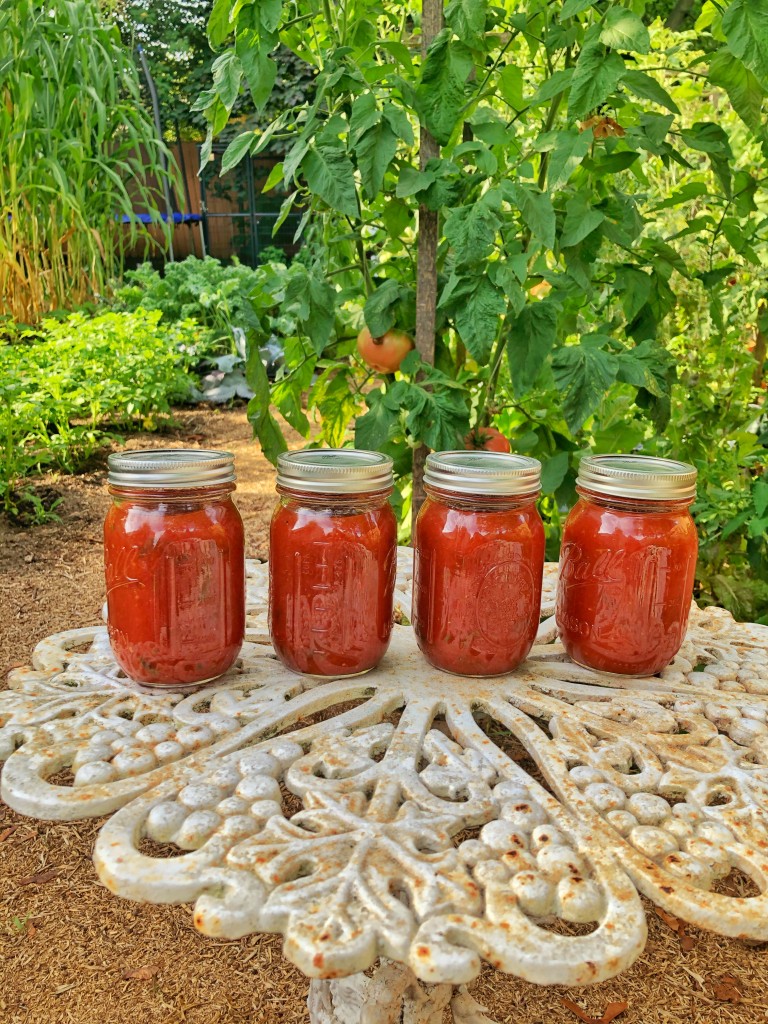
This tomato sauce recipe comes from my mother-in-law. We eat a pint every single week. All year long. We use it in the following ways:
- Pizza sauce
- Pasta sauce
- The best damn tomato soup you’ll ever eat
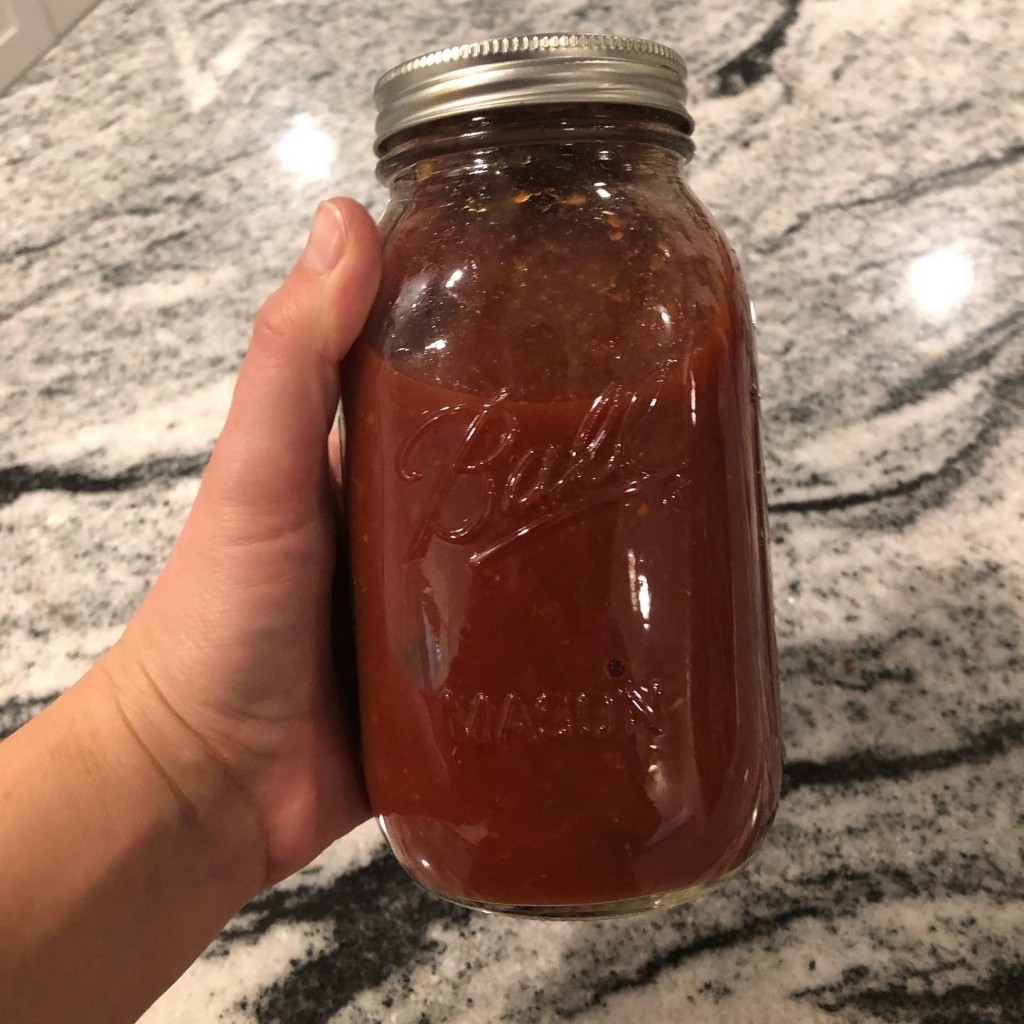
We chose the hot water bath canning method to preserve this sauce, but you could just as easily freeze it if you make sure to leave lots of head space at the top to allow for expansion when it freezes (see the Freezing lesson for more details).
Supply List
- Baking sheet or other large flat pan for roasting
- 7- to 8-quart stainless steel, enamel, or non-stick heavy pot
- Pint jars and lids (you could use quarts or half pints if you prefer)
- Canning supplies (see the Water Bath Canning lesson for details)
- Common kitchen utensils, such as a wooden spoon, ladle, paring knife, and cutting board
- Fresh, ripe tomatoes (the recipe below calls for 10 pounds, but the quantity is really up to you)
Step-by Step Instructions for Grandma’s Tomato Sauce
(makes 4 pints) download a printable version
Ingredients
10 pounds ripe tomatoes*
1 large or 2 small onions, roughly chopped
1 head garlic, cloves peeled
4 Tablespoons salt
1 Tablespoon balsamic vinegar
1 teaspoon black pepper (freshly ground, if you’ve got that option)
2 cups lightly packed fresh basil leaves, roughly chopped
1/2 cup lightly packed fresh oregano leaves, roughly chopped
1/2 cup lightly packed fresh parsley, roughly chopped
1 Tablespoon crushed red pepper (optional)
6 tablespoons lemon juice (from about 1 1/2 lemons if you want to squeeze it yourself)
Assembly
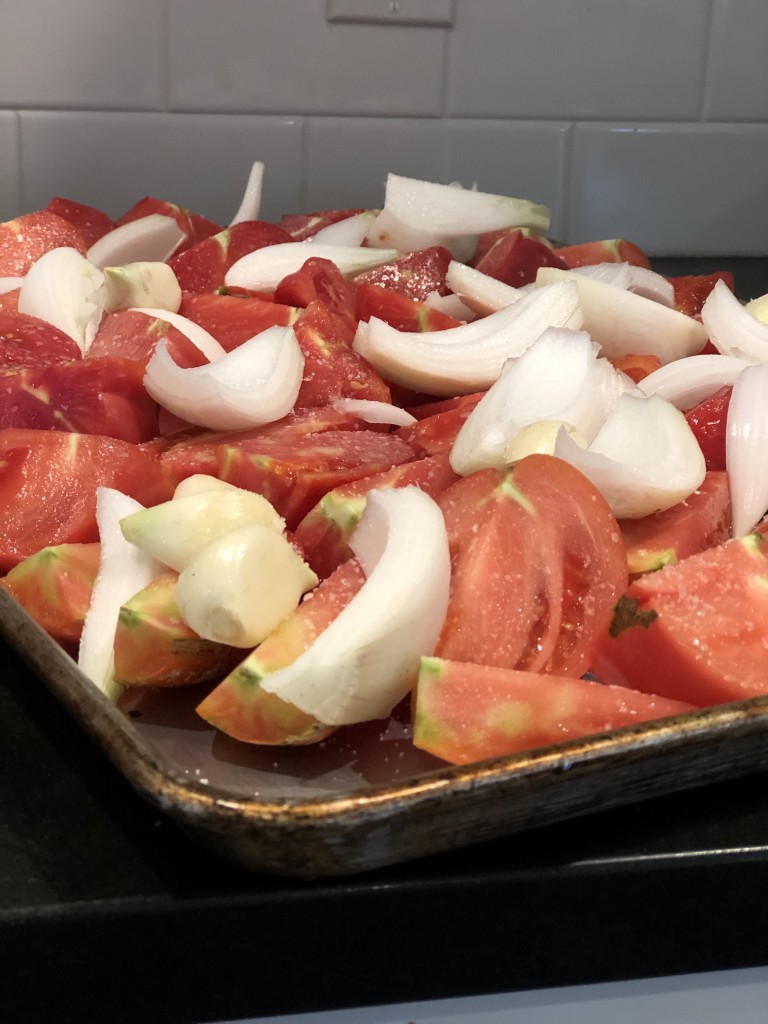
- Roast the tomatoes, onions, garlic, and 1 Tablespoon salt in the oven at 350F for 1 to 2 hours; let cool until you can safely handle them
- Process tomatoes, onions, and garlic through the food mill
- Transfer tomato sauce to a pot and add remaining 3 Tablespoons salt, vinegar, and black pepper.
- Bring to a simmer.
- Simmer, uncovered and stirring occasionally, for 70 to 80 minutes or until the mixture reaches desired consistency (you should have about 8 cups at this point)
- Remove from heat; stir in basil, oregano, parsley, and crushed red pepper (optional)
Canning instructions
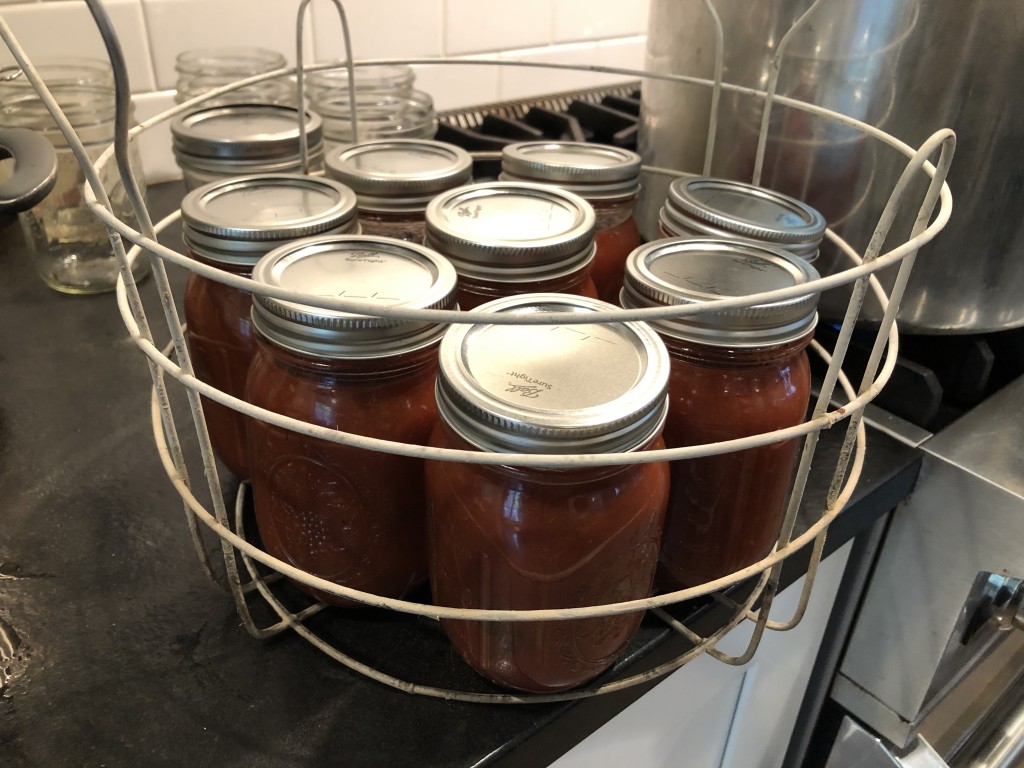
- Prepare boiling water canner (see the Water Bath Canning lesson for details supplies and the overall canning process). Heat jars in simmering water until ready to use, do not boil. Wash lids in warm soapy water and set aside with bands.
- Add 1 Tablespoon lemon juice to each hot pint jar (or 2 Tablespoons if you’re using quarts).
- Ladle tomato sauce into hot jars, leaving 1/2 inch headspace.
- Wipe jar rim. Center lid on jar and apply band, adjust to fingertip tight. Place jar in boiling water canner. Repeat until all jars are filled.
- Process jars for 35 minutes (for both pints and quarts, adjusting for altitude).
- Turn off heat, remove canner/pot lid, let jars stand 5 minutes.
- Remove jars and cool 12-24 hours. Check lids for seal, they should not flex when center is pressed.
*Recipe Notes:
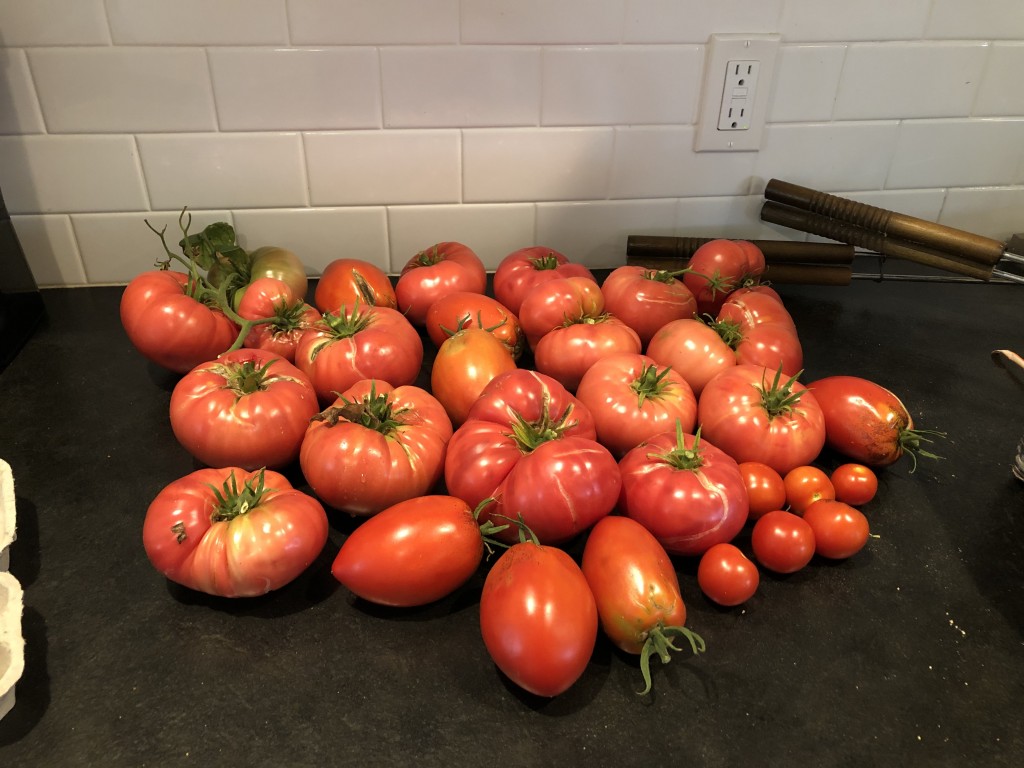
- We use all kinds of different tomatoes for this sauce… whatever we have on hand, really, which is usually some combination of the following: Roma, Amish Paste, Beefsteak and others.
How much tomato sauce should you make and preserve?
This is a tricky question, but a really important one to discuss. You’ll probably have to experiment over several years to really answer it well, but to get yourself close right now, I recommend asking yourself the following questions:
- How do I plan to cook with my tomato sauce?
- What specific recipes call for it and in what quantities?
- How often do we usually eat these dishes?
- Do I wish to eat more or less this year?
We tend to use one pint of this sauce per week, so we make at least 12 batches of grandma’s sauce to make sure we have enough.
If you’re unsure, I recommend starting with one batch of the recipe above. Alternatively, you can let your tomatoes guide you and make as many batches as you have tomatoes for.
Please share your thoughts, questions, and experience with homemade tomato sauce in the comments! Do you have a favorite recipe? How much tomato sauce do you use each year? Please tell us about it!
]]>
This blog is part of a series about preserving food so you can eat local all year long. I’ve collected them all into a free course that you can access here. The course includes lessons that explain the basic preservation methods of canning, freezing, and dehydrating, and specific examples of how I use these preserving methods in combination to preserve tomatoes and corn on the cob – two of my favorite foods!
Tomatoes are such a favorite for me that I’m devoting several blogs to the various ways of preserving them. There are four lessons on this in the free Preserving Local Food course, including tomato paste and sun dried tomatoes. These specific examples will demonstrate how you can use various preserving methods (canning, freezing, and dehydrating) in combination to preserve your favorite local foods.
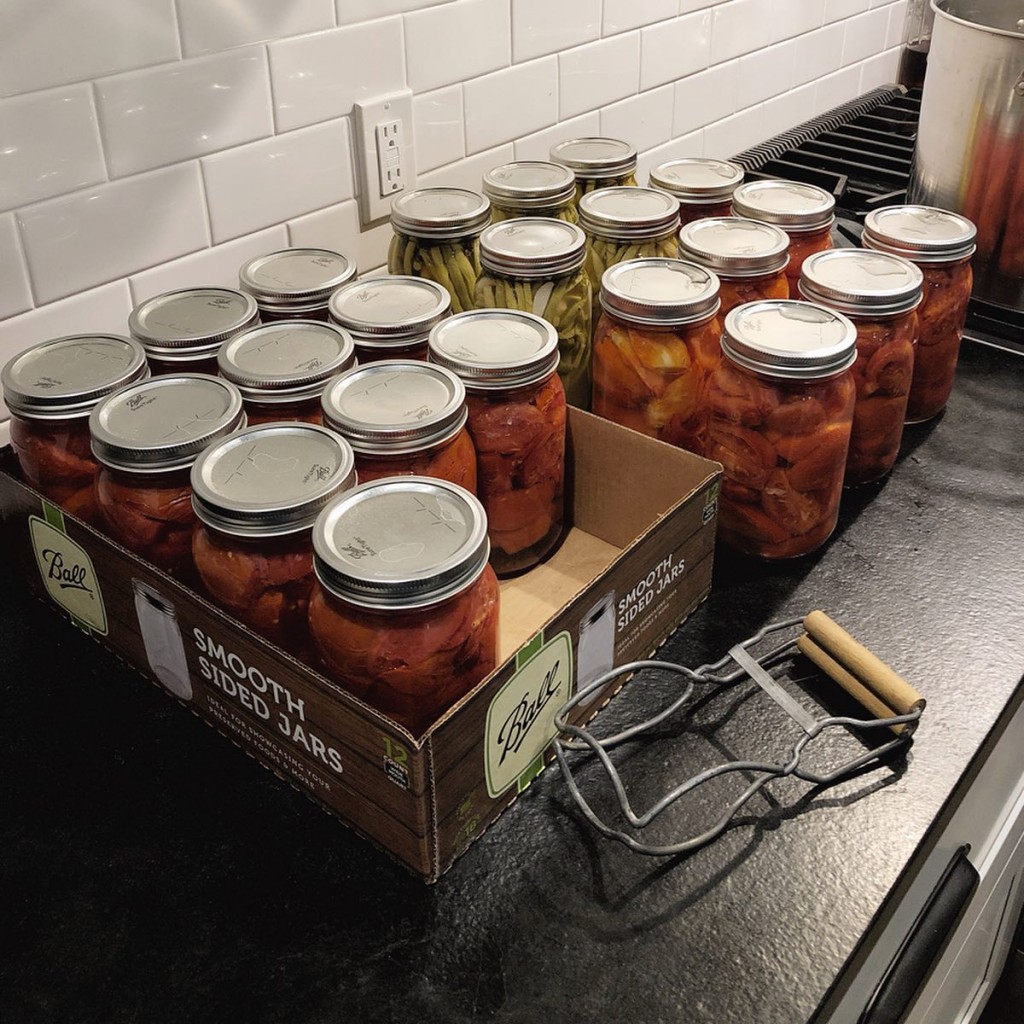
Last year I turned about 30 pounds of fresh Roma tomatoes from my farmers market into 17 quarts of canned tomatoes for year round cooking. These canned tomatoes are great for:
- chili
- other soups and stews
- pasta dishes
- casseroles
- any recipe that calls for canned tomatoes (in which you previously used diced, crushed, or other style canned tomatoes you purchased from the grocery store)
Supply List
- Baking sheet or other large flat pan for roasting
- 7- to 8-quart stainless steel, enamel, or non-stick heavy pot
- Quart jars and lids (you could use pints or another size if you prefer)
- Canning supplies (see the Water Bath Canning lesson for details)
- Common kitchen utensils, such as a wooden spoon, ladle, paring knife, and cutting board
- Fresh, ripe tomatoes (the quantity is up to you; the recipe below works for any amount)
Step-by-step Instructions for Canned Tomatoes
(download a printable version)
Note that the recipe works well for whole, halved, quartered, or diced tomatoes. Feel free to make whichever you tend to cook with the most, or a combination. I recommend referencing this recipe for more information.
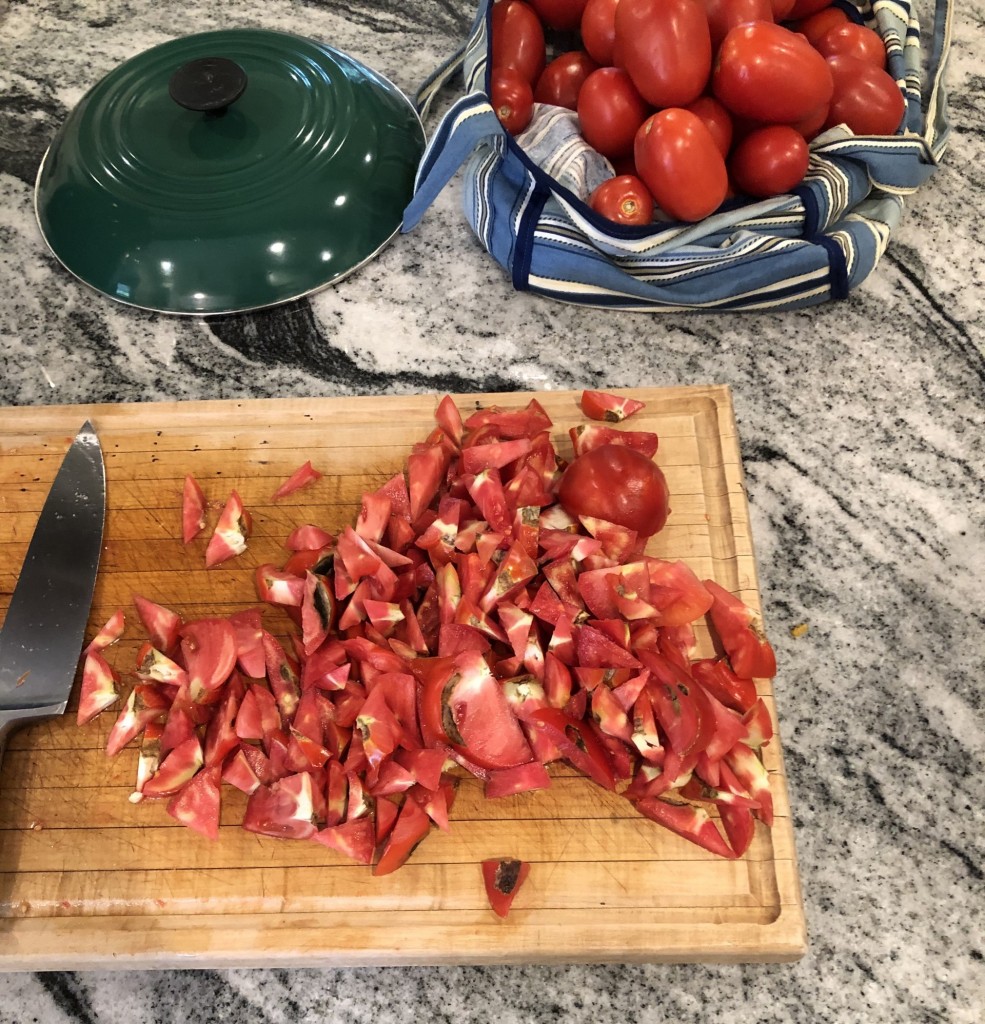
- Cut tomatoes to the desired size and cut out the core/stem.
- I quartered mine, but you can cut yours in half, a smaller dice or leave them whole; however you prefer.
- Also, I chose to leave the skin on since its full of good nutrients.
- If you want to remove the skins, I recommend a quick blanch (dip the tomatoes into boiling water for a 30-60 second) to loosen the skins, immediately plunge into cold water, and then slip the skins off with your fingers.
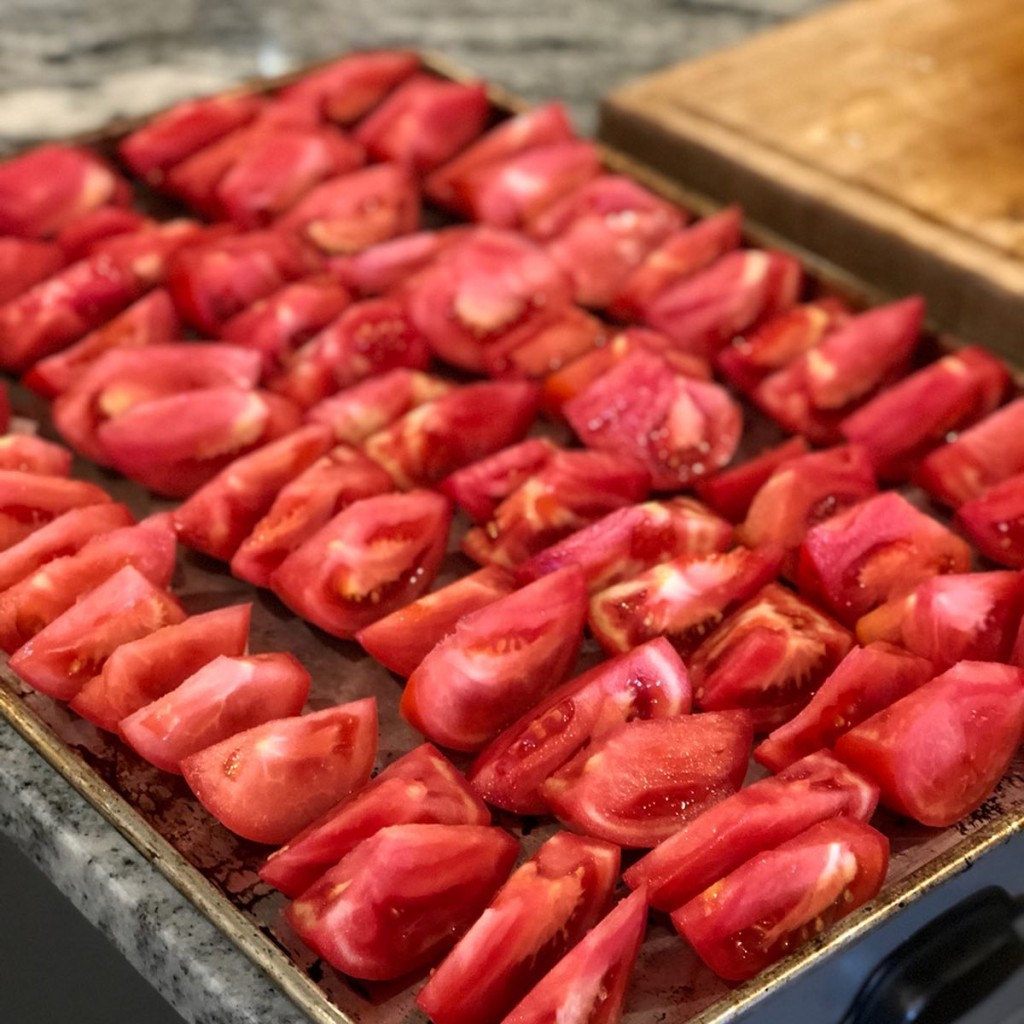
- Following the advice of Anne-Marie Bonneau (AKA Zero Waste Chef) I roasted mine for about 2 hours at 225F to concentrate the flavor just a bit before canning them. This is, of course, an optional step.
- Prepare boiling water canner (see the Water Bath Canning lesson for details supplies and the overall canning process). Heat jars in simmering water until ready to use, do not boil. Wash lids in warm soapy water and set aside with bands.
- Add 2 Tablespoons lemon juice to each hot quart jar (or 1 Tablespoon if you’re using pints).
- Pack tomatoes in hot jars, pressing down, until space between tomatoes fills with juice, leaving 1/2 inch headspace.
- Remove air bubbles. Wipe jar rim. Center lid on jar and apply band, adjust to fingertip tight. Place jar in boiling water canner. Repeat until all jars are filled.
- Process jars 1 hour and 25 minutes (for both pints and quarts, adjusting for altitude).
- Turn off heat, remove canner/pot lid, let jars stand 5 minutes.
- Remove jars and cool 12-24 hours. Check lids for seal, they should not flex when center is pressed.
How many tomatoes should you buy and can?
This is a tricky question, but a really important one to discuss. You’ll probably have to experiment over several years to really answer it well, but to get yourself close right now, I recommend asking yourself the following questions:
- How do I plan to cook with the canned tomatoes?
- What specific recipes call for them and in what quantities?
- How often do we usually eat these dishes?
- Do I wish to eat more or less this year?
Based on your answers to these questions, I recommend this amazing chart to help you decide how many bushels or pounds to buy.
It might also be helpful to approach this from the other direction… to start with one bushel of tomatoes, can them in your favorite style (whole, halved, quartered, or diced) and see how much of the canned tomatoes your family eats. Then you can adjust next year.
For reference, I canned 30 pounds of tomatoes into 17 quarts and we didn’t quite use them up last year. I found that we used canned tomato sauce, frozen tomatoes, and tomato paste much more often than these canned tomatoes (more to come on each of these in the following lessons).
Here’s an example from the Water Bath Canning lesson in case it’s helpful:
Let’s imagine you’re canning tomatoes for making chili, you normally eat chili once per week, and your recipe calls for two 28-ounce cans of diced, crushed, or whole tomatoes.
In this case, I would recommend you can your tomatoes in quart jars. Quart jars are 32 ounces each, so I would recommend planning on 2 quarts per batch of chili. Since there are 52 weeks in the year, I’m going to guess you eat chili once a week for about half the year… thats 26 times per year… and you need 2 quarts per batch, so I would recommend making about 50 quarts of canned tomatoes.
You need about 2.5-3.5 pounds of ripe tomatoes per quart jar. If you buy your tomatoes by the pound, that means you should buy approximately 150 pounds of tomatoes from your farmers market or farm stand.
Most of the time I buy my tomatoes by the bushel, so we need one more conversion. According to this chart (which will help you make this similar calculation for all other fruits and vegetables), one bushel of tomatoes is 53 pounds, so you would need to buy 3 bushels.
Please share your thoughts, questions, and experience canning tomatoes in the comments! How do you slice them (diced, quartered, halved or whole)? How many canned tomatoes do you use each year? Please tell us about it!
]]>
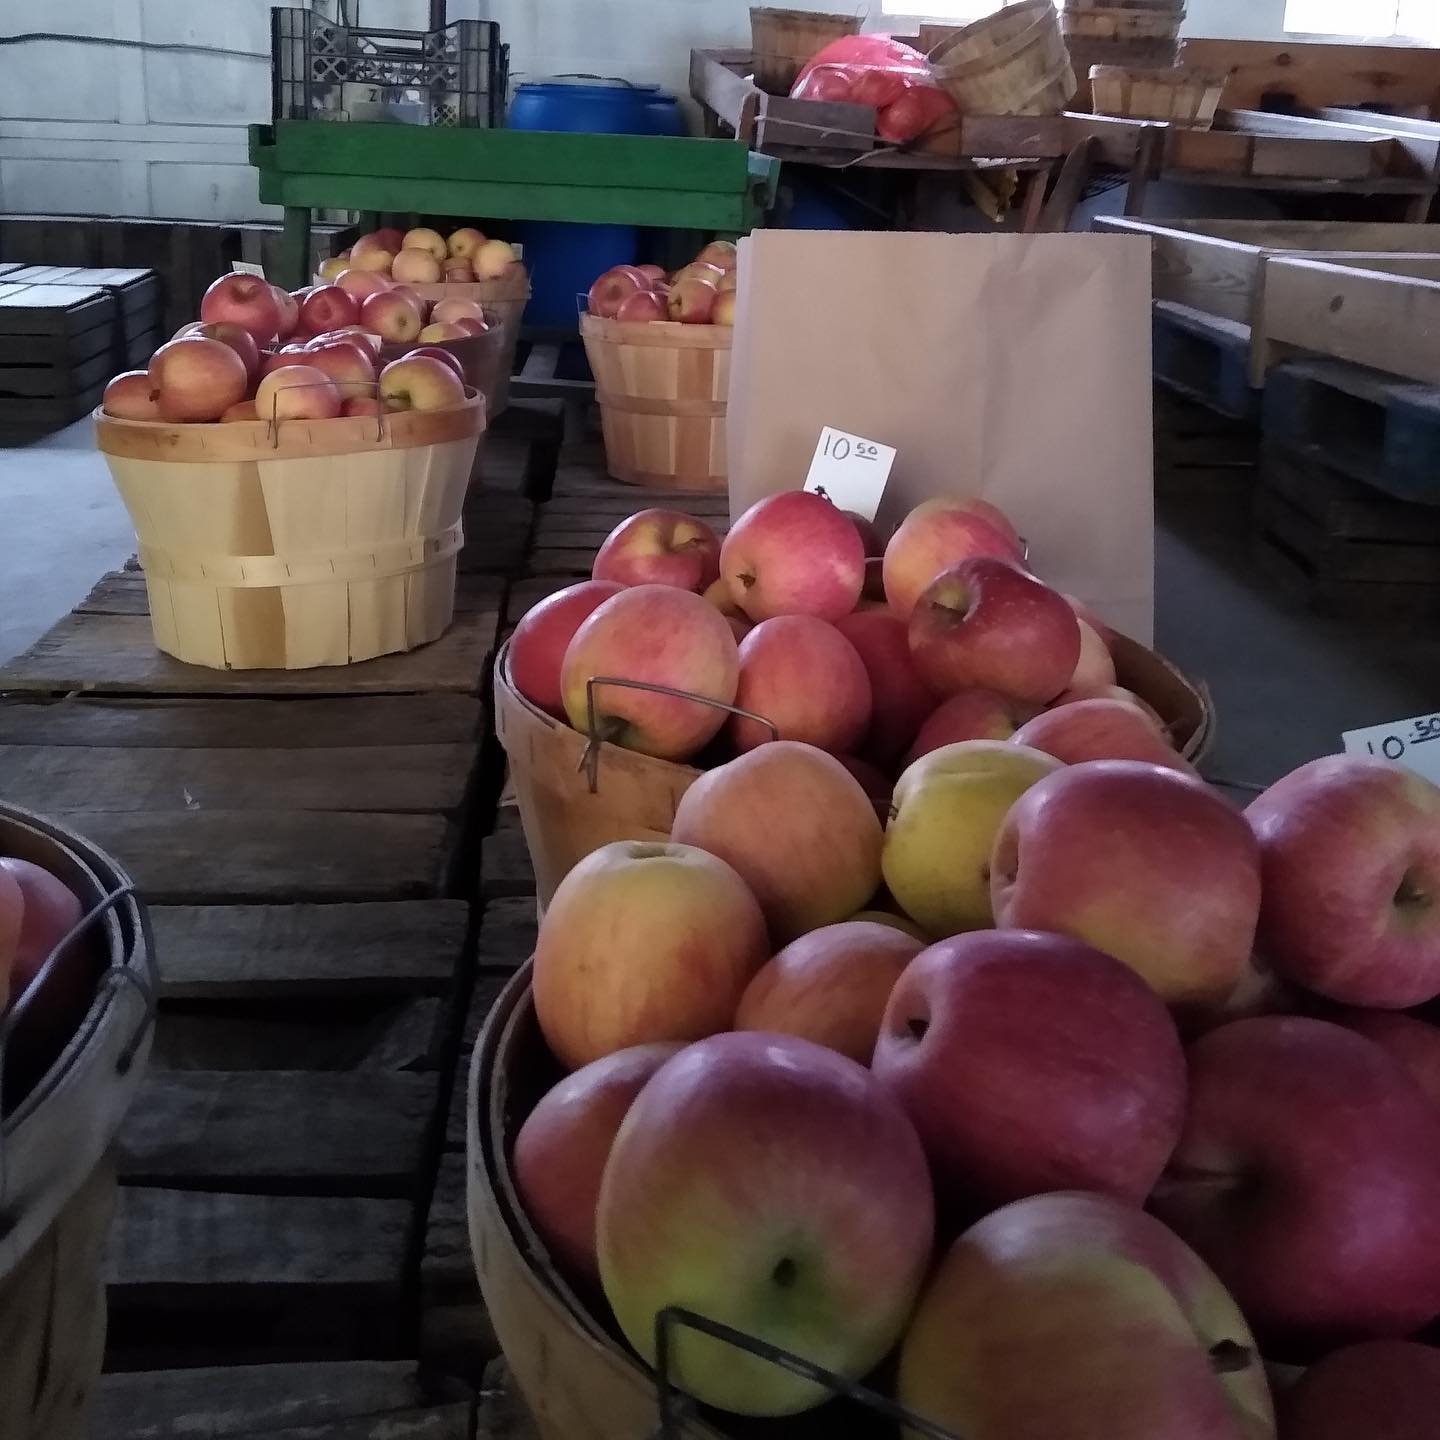
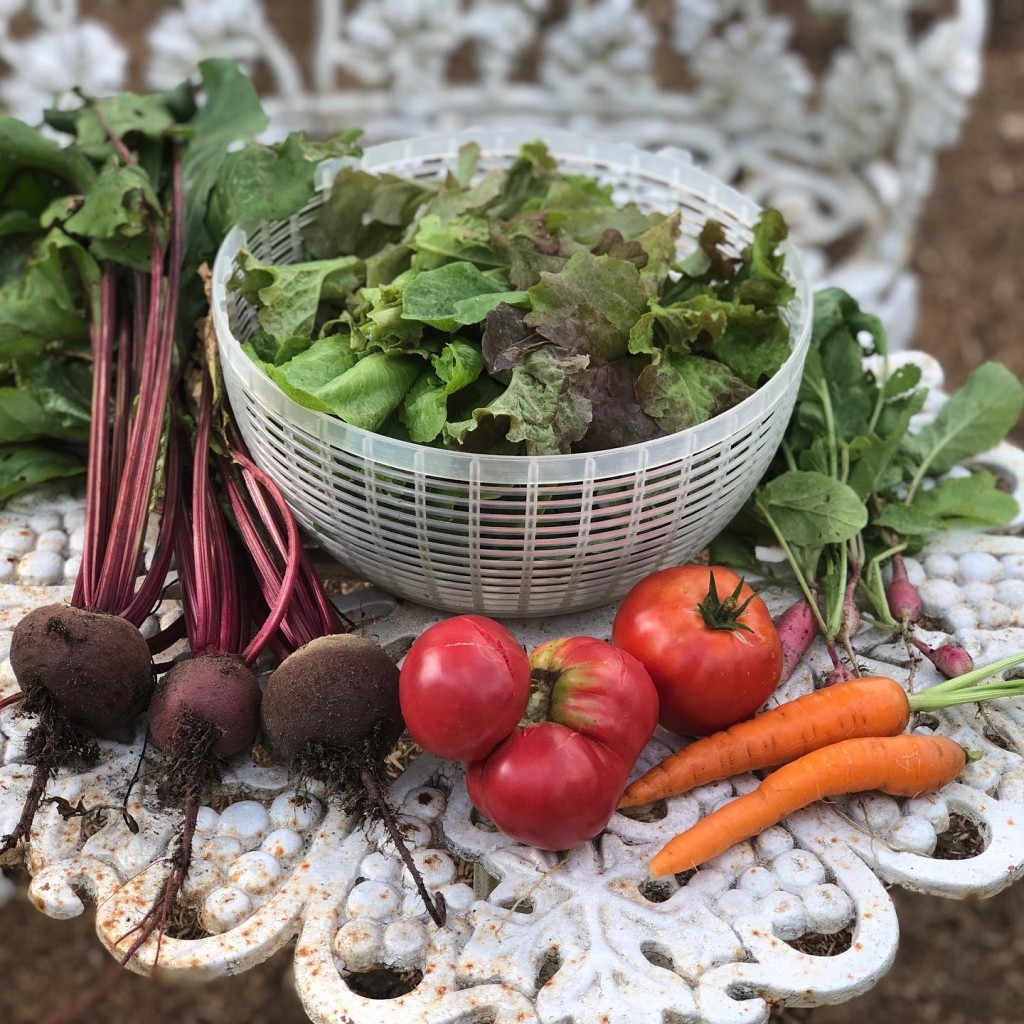
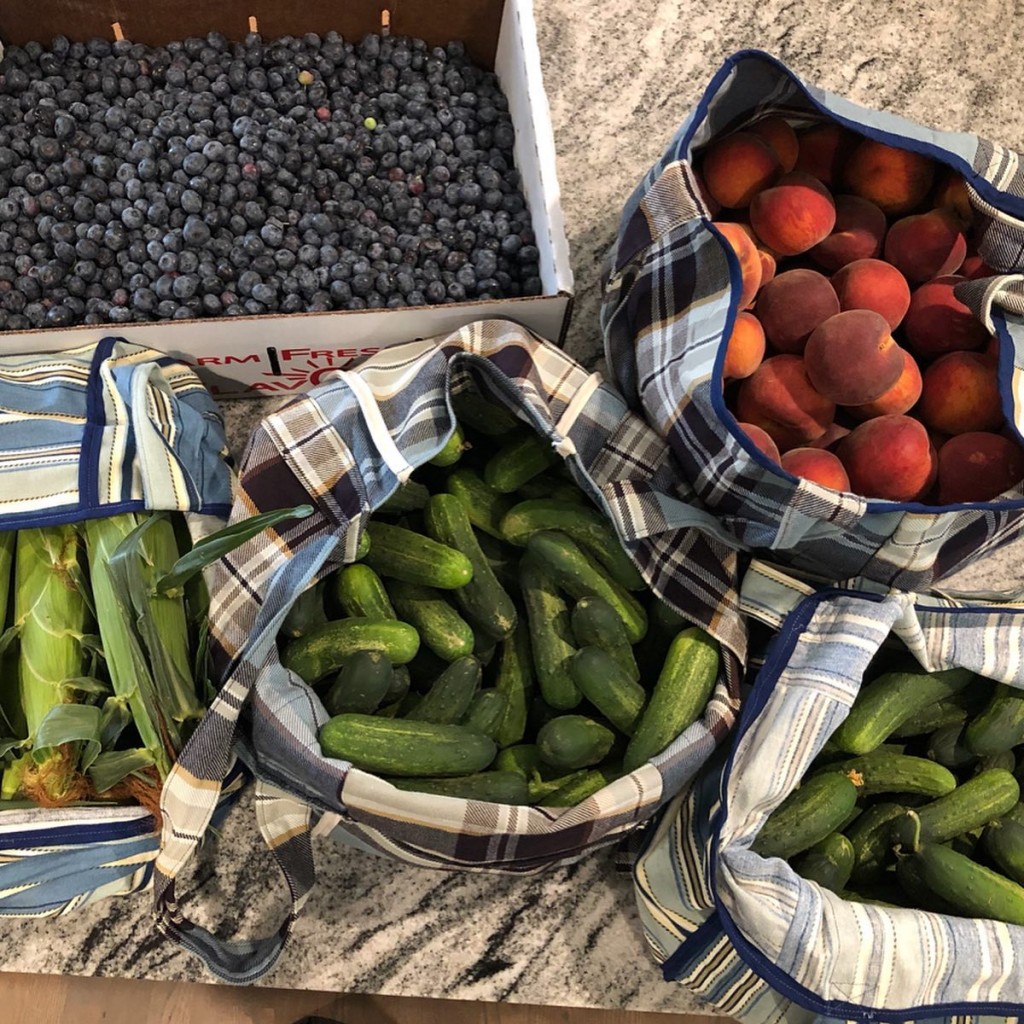
It’s canning season! My backyard garden is starting to overflow with vegetables and I’m starting to see bushels of tomatoes and cucumbers at my farmers market. It’s the most wonderful time of the year!
This blog is part of a series about preserving food so you can eat local all year long. I’ve collected them all into a free course that you can access here. The course includes lessons that explain the basic preservation methods of canning, freezing, and dehydrating, and specific examples of how I use these preserving methods in combination to preserve tomatoes and corn on the cob – two of my favorite foods!
When the most of us think about preserving food, our minds immediately jump to the rows and rows of home-canned goods in our grandparents’ pantry. Canning is a nostalgic process that is an important tool in our modern day preservation toolkit, so it’s a great place to start, but if canning feels overwhelming to you or you’re nervous about it, I recommend skipping ahead to the lesson on freezing. Freezing is an equally good tool that is, in my opinion, underutilized and can sometimes feel a bit more approachable if you’re just starting to think about preserving local food.
Most of the information in this post comes from the makers of Ball and Kerr jars because they’re the experts I’ve relied on for most of my life. I’m going to cover just the basics here. If you’re interested in digging deeper, you can find much more information at https://www.freshpreserving.com/
Getting Started: Explaining the Canning Methods
There are two home canning methods: water bath canning and pressure canning. I’m only going to include water bath canning in this lesson because its the best method for beginners, but if you’re wanting to preserve low-acid foods, including meat, please read learn more about pressure canning.
Water Bath Canning
A lower-temperature canning process, water bath canning is ideal for high-acid foods and recipes that incorporate the correct measure of acid. The combination of time and temperature destroys mold, yeast, and enzymes that cause spoilage while creating a vacuum seal. This process is recommended for produce and recipes including:
- Fruits and fruit juices
- Jams and jellies
- Salsas
- Tomatoes
- Pickles and relishes
- Chutneys, sauces, pie fillings
- Vinegars
- Condiments
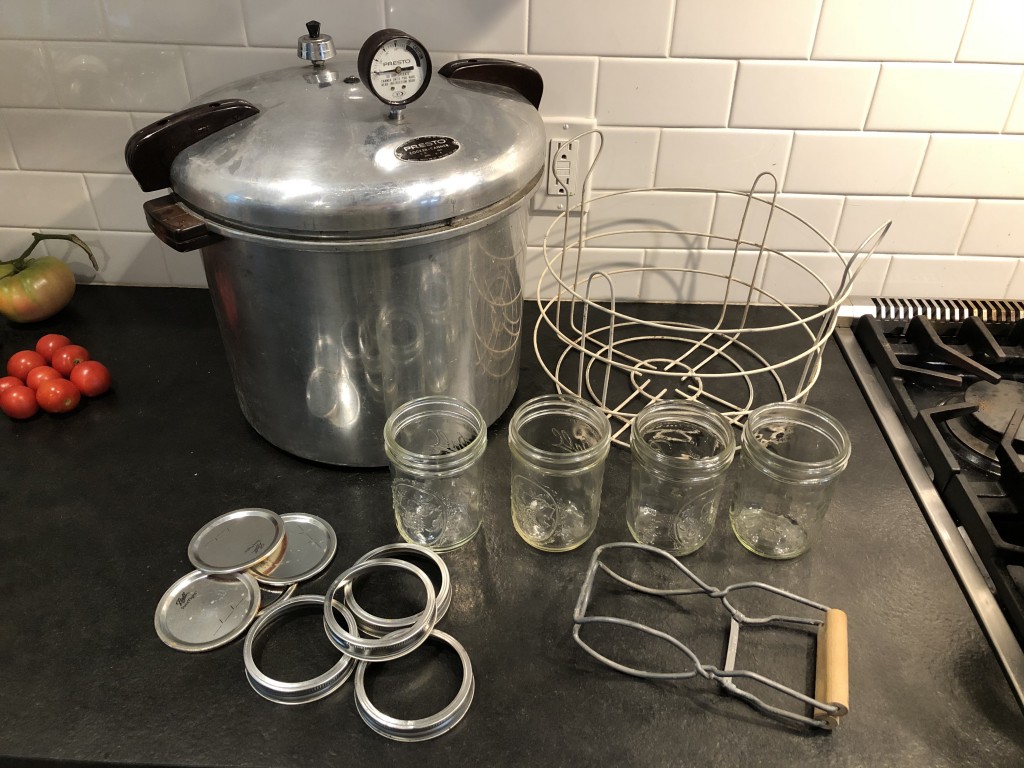
Here’s a basic supply list to get you started:
- Boiling water bath canner or a large, deep saucepot with a lid
- If you don’t have a “water bath canner”, don’t worry!
- A large, deep saucepot equipped with a lid and a rack works well. As long as it is large enough to fully immerse the jars in water by 1-2 inches—and allow the water to boil rapidly when covered—the pot is adequate.
- Canning rack
- I recommend using something to keep your jars off the bottom of the pan because they’re likely to break when sitting directly against the hot bottom, so lets get creative if you don’t have a rack at your finger tips
- Ask a friend/neighbor/relative if you can borrow their canning kit or put a call out on your local Buy Nothing group on Facebook (its a group dedicated to passing on or lending items exactly like this).
- Look around your house for a metal rack that might work. For example, my instant pot came with one. A cake cooling rack works well too.
- Make your own by placing a few chopsticks or butter knives in a grid along the bottom of your pot… you can use just about anything as long as it will provide a stable surface to keep your jars slightly elevated, off the bottom of the pot
- Or you can tie together extra bands (the metal part of the jar lid… the part you touch with your hands to tighten) to cover the bottom of the pot.
- You can always buy a rack. I recommend measuring the diameter (thats the distance straight across the top) of your pot and try to find a rack that is just slightly smaller.
- I recommend using something to keep your jars off the bottom of the pan because they’re likely to break when sitting directly against the hot bottom, so lets get creative if you don’t have a rack at your finger tips
- Jar lifter
- This is another tool that is rather important, so you don’t burn your fingers taking jars into and out of the boiling water, so I recommend the same approach to finding one of these as the canning rack. Maybe you can borrow them from the same friend… or make your own with tongs and rubber bands, using this tutorial from the creative folks at kitchn
- Home canning funnel
- This is a really helpful tool and helps keep your working space clean.
- On the other hand, if you’re just getting started and don’t want to buy a lot of new supplies, this is one of the more optional supplies.
- Glass preserving jars, lids, and bands (the official recommendation is to always start with new lids)
- I recommend using wide mouth jars whenever possible. They’re just so much easier to maneuver food into and out of and they’re better for freezing too, so you can use one jar for all your preserving needs.
- Its also worth thinking a bit about the quantity of a particular vegetable you usually use when grabbing your jars for a project. For example, I can tomatoes, dilly beans, and pickles in quart jars, but prefer pints for jams, jellies, and salsa because I eat those slower and don’t want my hard work to spoil in my fridge after opening.
- Again, if you don’t have a stash of canning jars you can creatively and inexpensively build one using the following sources:
- Buy Nothing groups on Facebook or asking around to see if your friends or family might have extras they’d like to pass on
- Resale shops like Goodwill, Salvation Army, or others that you choose to shop at. I recommend washing all used jars in your dishwasher on hot just to be sure they’re sanitized for your use
- Buying new at your local grocery store or online. I recommend the following (these links are for Amazon because its the easiest, but the Amazon prices are 5x what I pay for these jars locally, so I highly recommend checking your local grocery store first):
- Common kitchen utensils, such as a wooden spoon, ladle, and paring knife
- Quality ingredients (fresh fruits and vegetables)
The Water Bath Canning Process
- Fill water bath canner (or pot) at least half-full with water. Cover and maintain a simmer (180°F) until jars are filled and placed in canner.
- Check jars, lids, and bands for proper functioning. Jars with nicks, cracks, uneven rims, or sharp edges may prevent sealing or cause jar breakage. The underside of lids should not have scratches or uneven or incomplete sealing compound as this may prevent sealing. Bands should fit on jars. Wash all in hot, soapy water and dry well.
- Pre-heat your jars in hot (180°F) water. Keeping jars hot prevents them from breaking when filled with hot food. Leave lids and bands at room temperature for easy handling.
- Prepare the food using a tested high-acid preserving recipe. Ball has lots of online recipes and I’ll share my favorite in the coming lessons.
- Use a Jar Lifter to remove the pre-heated jar.
- Fill jar one at a time with prepared food, leaving headspace recommended in recipe.
- Remove air bubbles, if stated in the recipe, by sliding a rubber spatula between the jar and food to release trapped air. Repeat around jar 2-3 times. For successful sealing, you need to leave the correct amount of space between the food and the rim of the jar.
- Wipe the rim and threads of the jar using a clean, damp cloth to remove any food residue. Center lid on the jar, allowing sealing compound to contact the jar rim. Apply band and adjust until fit is fingertip-tight. Place jar in canner. Repeat steps 5 through 7 until all jars are filled. Ensure water covers jars by 1-2 inches.
- Place lid on water bath canner and bring water to a rolling boil. Begin processing time.
- Process in the boiling water for the time indicated in tested preserving recipe. When complete, shut off heat and remove the lid. Allow jars to rest in canner for 5 minutes to be acclimated to the outside temperature.
- Move jars from canner and set upright on a towel. This will prevent jar breakage that can occur from temperature differences. Leave jars undisturbed for 12 to 24 hours. DO NOT retighten bands as this may interfere with the sealing process.
- Inspect lids for seals. There should be no flex when center is pressed. Remove the bands and attempt to lift lids off with your fingertips. Properly sealed lids will remain attached. If a lid fails to seal within 24 hours, immediately refrigerate the product. Clean canning jars and lids, label and store in a cool, dry, dark place for up to for up 18 months.
I’ve found the water canning method to work well for just about anything I want to can, but if you’re wanting to preserve low-acid foods, including meat, please read learn more about pressure canning.
How much should you buy and can?
This is a tricky question, but a really important one to discuss. You’ll probably have to experiment over several years to really answer it well, but to get yourself close right now, I recommend asking yourself the following questions for each fruit or vegetable you want to can:
- How do I plan to cook with this fruit/vegetable?
- How often do we usually eat this dish?
- Do I wish to eat more or less this year?
For example, let’s imagine you’re canning tomatoes for making chili, you normally eat chili once per week, and your recipe calls for two 28-ounce cans of diced, crushed, or whole tomatoes.
In this case, I would recommend you can your tomatoes in quart jars. Quart jars are 32 ounces each, so I would recommend planning on 2 quarts per batch of chili. Since there are 52 weeks in the year, I’m going to guess you eat chili once a week for about half the year… thats 26 times per year… and you need 2 quarts per batch, so I would recommend making about 50 quarts of canned tomatoes.
You need about 2.5-3.5 pounds of ripe tomatoes per quart jar. If you buy your tomatoes by the pound, that means you should buy approximately 150 pounds of tomatoes from your farmers market or farm stand.
Most of the time I buy my tomatoes by the bushel, so we need one more conversion. According to this amazing chart (which will help you make this similar calculation for all other fruits and vegetables), one bushel of tomatoes is 53 pounds, so you would need to buy 3 bushels.
Please share your thoughts, questions and experiences using the water bath canning method in the comments!
]]>
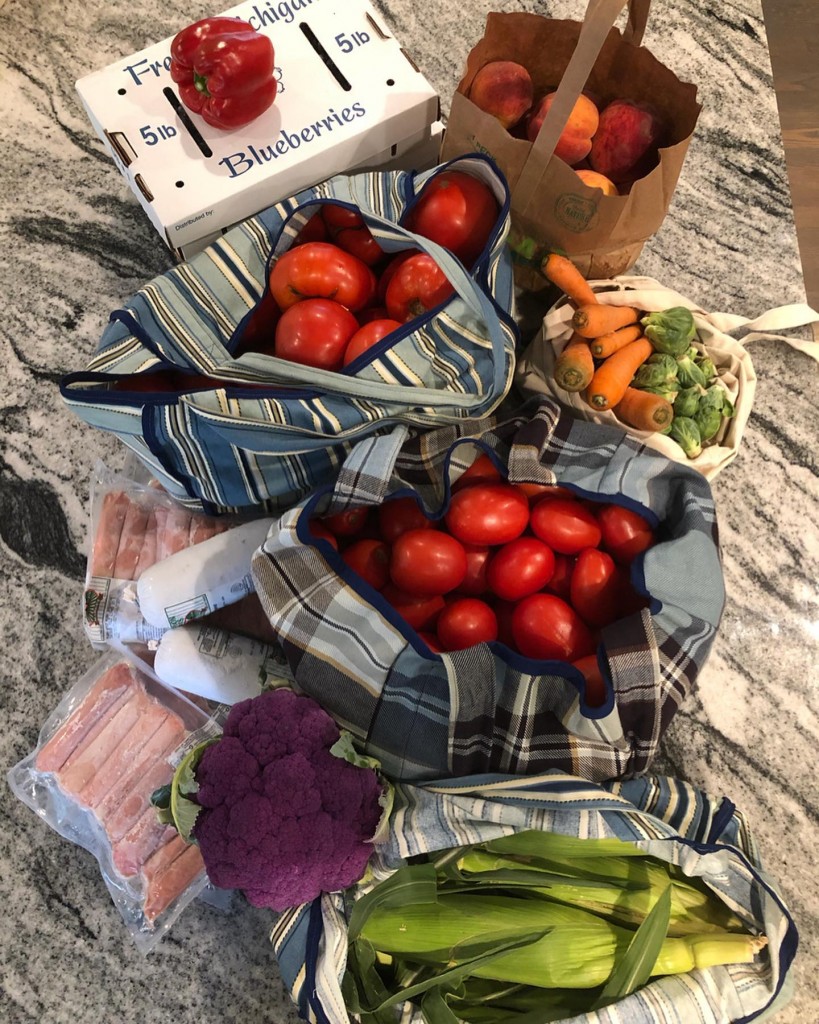
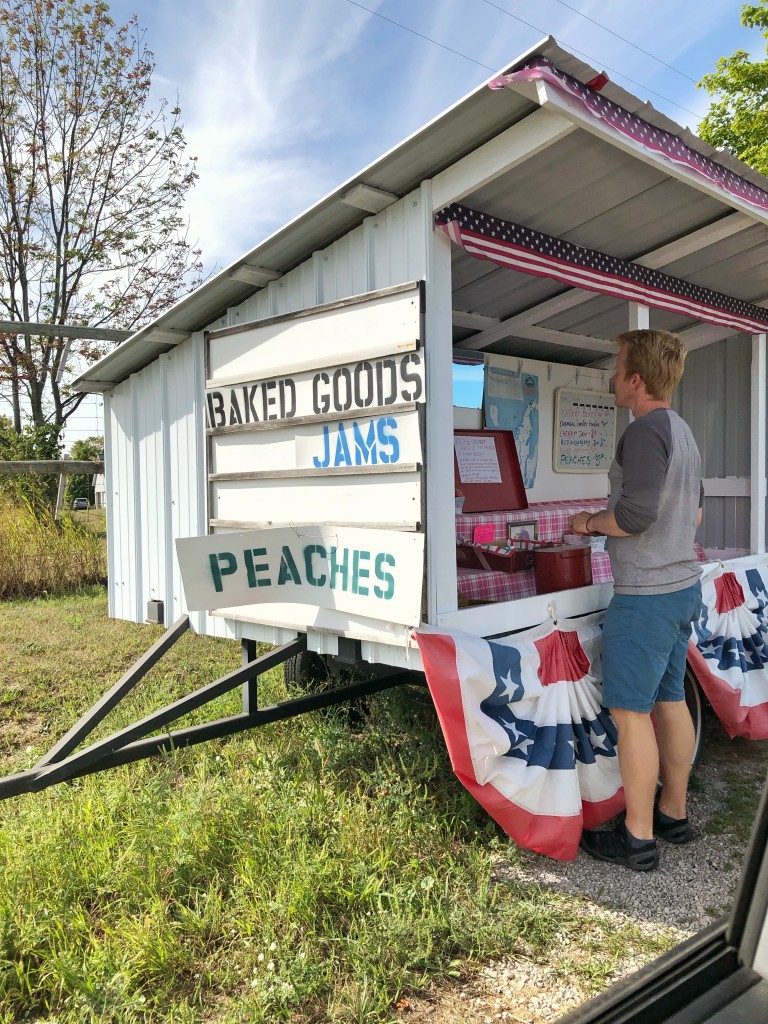
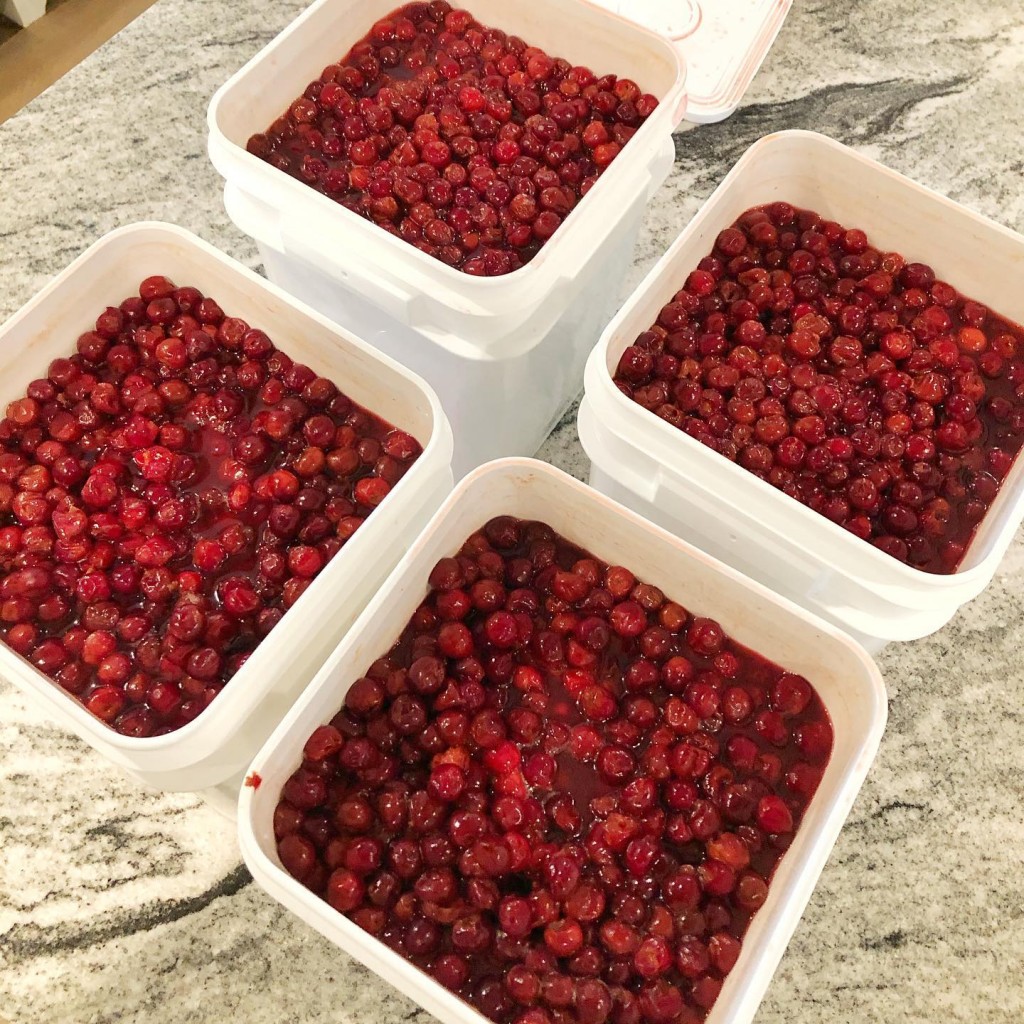
It’s summer and when the weather gets warm I quickly become obsessed with my garden (where I grow herbs, vegetables, and fruit), the farmers market, UPick, local roadside stands, foraging in the woods, and buying in bulk to can and freeze all of this gloriously delicious local produce so I can continue to eat it all year long.
What do you love most about local food? Add your voice to this conversation in the comments below!
Because of this obsession, I’ve created a couple of free workshops to help you incorporate more local food into your life. In these workshops, you’ll find videos, checklists, recipes, and a downloadable ebook so you can access all of the resources offline at your convenience.
Eating more local food is fun, nutritious, and builds resiliency in both ourselves and our community (by creating strong local food systems that can financially support farmers making a decent living).
The average produce in America travels 1,500 miles from the farm to your plate. This is the most commonly referenced statistic (and its explored in great detail in this Slate article), but I’ve seen this number as high as 5,120 miles! All of this transportation causes greenhouse gas (GHG) emissions and contributes to global warming.
In addition to reducing these GHG emissions, eating local has the following benefits to you and your community:
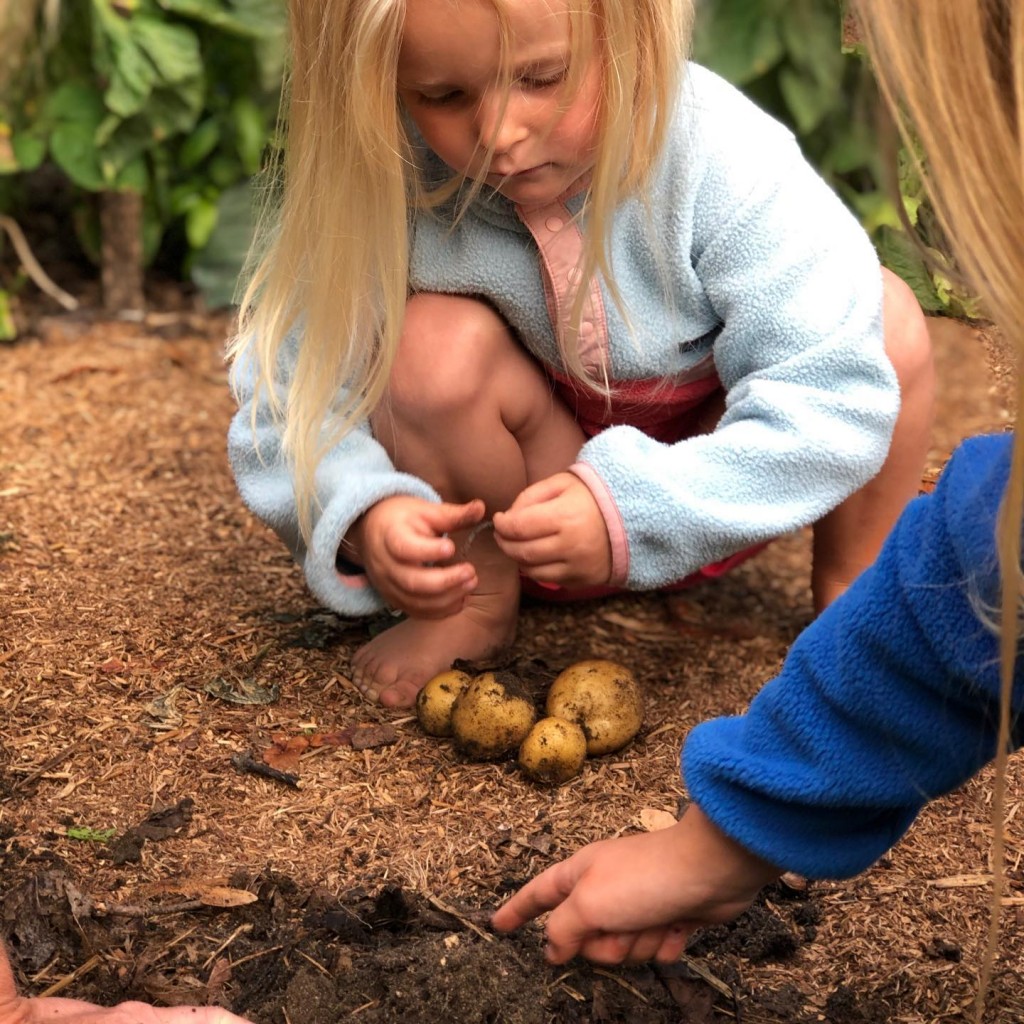
- Fun adventures for you and your family – my kids LOVE picking berries. They LOVE eating fresh raw corn on the cob that was picked only hours earlier by a local farmer and placed on a tiny little farm stand in their front yard. They LOVE picking cherry tomatoes from “their garden” and popping them straight into their mouth, juice squishing out the sides as they laugh out loud. They LOVE foraging in the woods for mushrooms, wild berries, and ramps for hours on end. Robbie and I LOVE experiencing each and every one of these adventures with them.

- Building a stronger community – I try to support local, small businesses whenever possible and local farmers are no exception! Did you know that $68 of every $100 spent at a local independent store is reinvested in the community versus $43 with a larger retailer? Plus, I enjoy knowing my farmer. I enjoy talking with them about their products and their life. I enjoy spending my hard earned money on a person.
- More nutritious food – smaller farmers often grow more interesting and nutritious varietals and the speed to market means there are more vitamins and nutrients in your food.
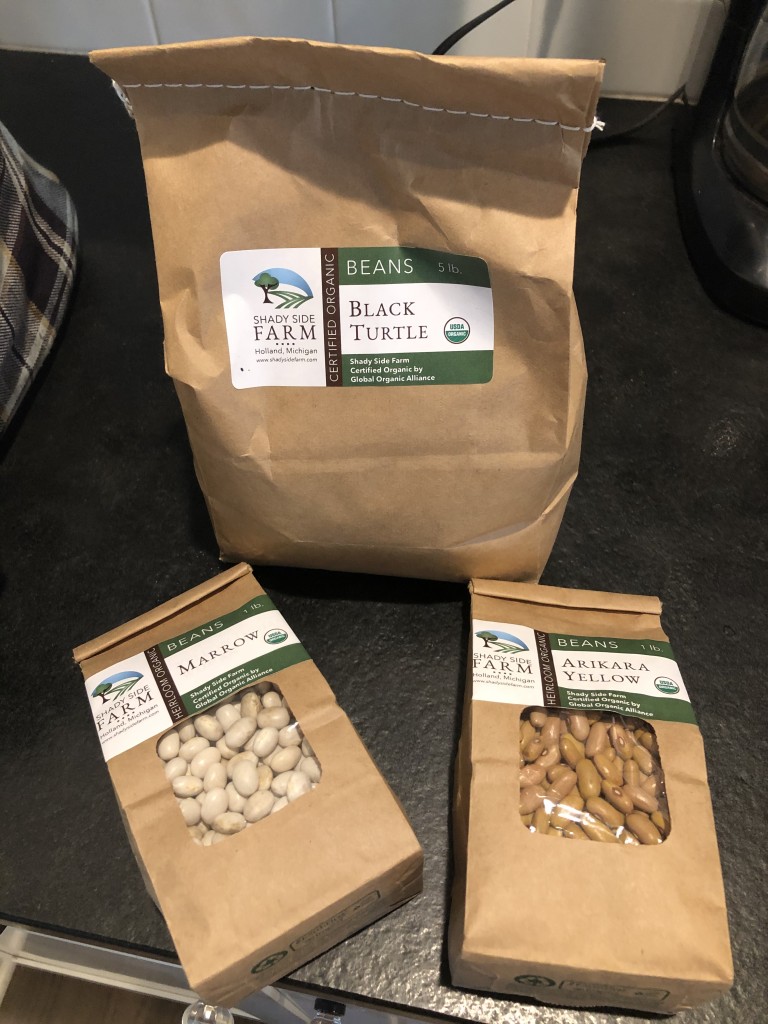
- Less chemicals – There are lots of different ways farmers choose to use less chemicals and communicate about this when selling their produce (including USDA certified organic, organically grown, and no-spray). One of the things I love most about the farmers market and farm stores is the fact that I can talk directly with the farmer to understand their farming practices and personal beliefs. Many local farmers will invite you to visit their farm and learn all about this… all you have to do is ask!
While you’re busy incorporating more local food into your diet, you’re probably naturally getting the benefits of unprocessed and unpackaged foods too. Both of these have big benefits to you!
Why unprocessed?
Additional resources (like water, energy, and associated fossil fuels for cooking), are required to turn fresh fruits, vegetables, and animal products into processed foods.
In addition to the environmental reasons to eat more unprocessed food, there are lots of potential health benefits. Diets including Clean Eating, Paleo, and Whole30 all encourage more fresh foods and less processed because the processing removes important fiber, vitamins, and nutrients while adding unhealthy ingredients like salt, sugar, and other complicated additives to preserve them or make them tastier. For additional reading, I recommend this article from Vox and this one from Harvard Health Publishing.
Why unpackaged?
Packaging is necessary when food is being transported long distances, but not so much within local food systems. I see packaging as waste that requires additional storage and effort to recycle/dispose. You’ll be surprised at the joy you might find in the extra space and time you have when you have less waste to manage in your life. There’s a whole lesson in the Eat More Local Food course designed to help you quickly and easily build your own waste free shopping kit. This kit is useful for any shopping you do, including your local grocery store.
If you’re interested in help finding more local food, please check out my Eat More Local Food course. It’s designed for you to work at your own pace through a series of lessons. Each lesson will take you less than 15 minutes and is designed to help you quickly and easily get more local food onto your plate, right now!
Why are you excited to eat more local food? Please add your thoughts, recommendations and questions in the comments!
]]>